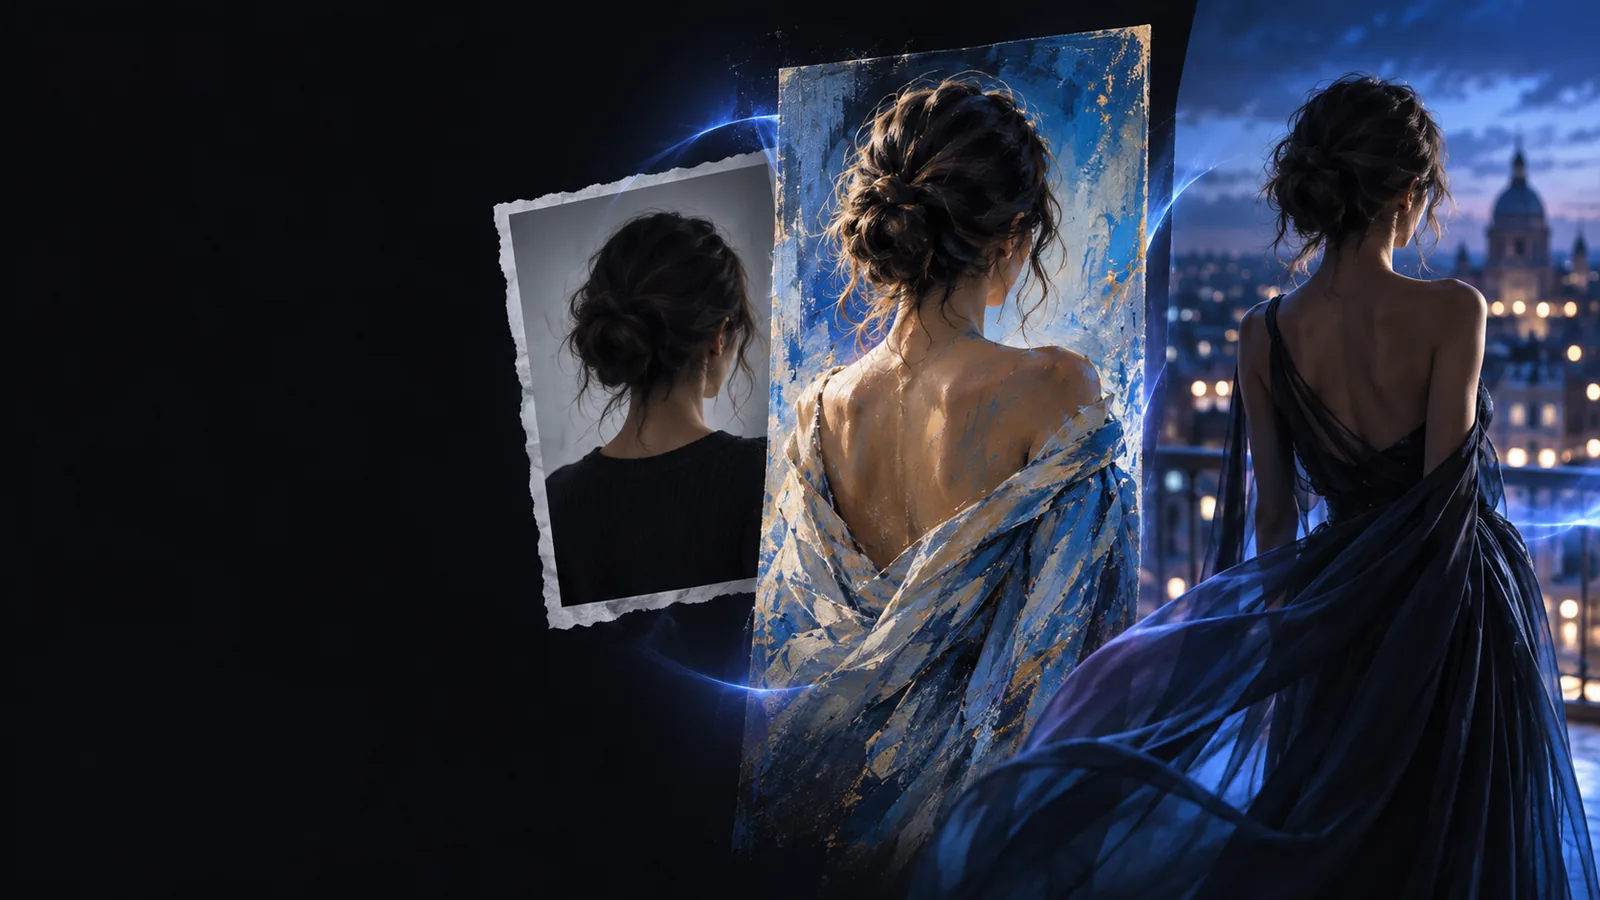
Workflow comparison

Choosing between ai image to image vs free editing

The ai image to image vs free question is less about a label than the result you need. Use a source-image transformation for broad visual changes, a manual editor for precise corrections, or a text generator when you have no source image.

Example of an image transformed into a different visual style

Three real scenarios, one pick each

Pick the workflow by what must survive the edit: the overall composition, exact details, or nothing from an existing picture.

Restyle a room photo: image-to-image

1

Pick this when the room layout should remain recognizable but the visual treatment can change.

  • The uploaded photo provides a starting composition, so you do not have to describe the whole room from scratch.
  • A prompt can request a different palette, lighting mood, or illustration style across the scene.
  • Several variations can help you compare directions before making a final edit.
  • Furniture edges, windows, or small objects may shift even when you ask to preserve them.
  • A plausible-looking result is not a reliable record of the original space.

Remove one mark from a product shot: manual editor

2

Pick this when one localized correction matters more than generating a new interpretation.

  • Selections and retouching tools let you target the mark without intentionally restyling the entire product.
  • You can inspect the exact region at full size and compare it with the original.
  • The rest of the image can remain untouched if you keep the edit local.
  • Careful masking and cleanup take practice.
  • A manual editor will not automatically invent a cohesive new visual direction.

Invent a room from a description: text generator

3

Pick this when you have no reference photo and want to explore an entirely new scene.

  • You can start with a written concept rather than finding or preparing a source image.
  • Major composition changes are not constrained by an existing photograph.
  • It cannot preserve a real room's layout without a reference.
  • Repeated prompts may produce different details, so continuity needs checking.

Capability matrix

This table compares source-image transformation with free manual editing. The distinction is how the work is done, not a promise that either output will always look better.

Image-to-image transformation
Free manual editor

Starting material

Image-to-image transformation

An existing image plus a direction for the change

Free manual editor

An existing image and edits applied by the user

Broad style change

Image-to-image transformation

Can reinterpret the image in one generation

Free manual editor

Usually requires multiple deliberate adjustments

Single-object correction

Image-to-image transformation

May also change nearby or unrelated details

Free manual editor

Can target a selected area

Composition preservation

Image-to-image transformation

Uses the source as a guide, not a guarantee

Free manual editor

Can leave unedited areas unchanged

Repeatability

Image-to-image transformation

Another generation may interpret the request differently

Free manual editor

Saved edits can be adjusted step by step

New visual directions

Image-to-image transformation

Useful for exploring multiple interpretations of one source

Free manual editor

Depends on the user's editing choices and skill

Final inspection

Image-to-image transformation

Check identities, text, geometry, and missing details

Free manual editor

Check masking, retouching seams, and unintended changes

Make the pick from the task

The most useful test is to name the detail you cannot afford to lose before choosing a workflow.

Choose this when

You want a different style but still need the uploaded scene to guide the output.

Choose image-to-image transformation.

The source supplies visual context while your instructions describe the new direction. Compare the result with the original, especially where shape or identity matters.

Choose this when

You must change one small area while preserving the rest of the picture.

Choose a manual editor.

A selection-based edit gives you a narrower scope. It is the safer workflow for correcting a blemish, straightening an edge, or keeping product details consistent.

Choose this when

You have an idea but no picture to upload.

Choose a text-to-image generator.

There is no source composition to preserve. Describe the subject, setting, and visual treatment, then judge the generated scene on its own terms.

Compare the neighboring choices

These guides narrow the decision if your real question is about a specific editor or finding a different starting point.

Shared pitfalls

Neither a generated transformation nor a free editor removes the need to inspect the finished image. Their mistakes tend to appear in different places.

No guaranteed factual fidelity

A generated version can alter labels, faces, object counts, or architectural details. A manual edit can also conceal context if an important area is changed.

Workaround

Keep the original and compare both images at full resolution before sharing a result that claims to represent a real subject.

No automatic rights clearance

Changing a picture's style does not establish permission to use the source, a depicted person's likeness, or protected artwork.

Workaround

Use images you have permission to edit and check the intended use of the result separately.

No universally clean text

Generated lettering may be misspelled or malformed, while manually replacing text can leave visible seams or mismatched perspective.

Workaround

Inspect every word closely and set critical copy separately with a text tool.

No private-by-default assumption

Uploading a sensitive source to any online tool raises questions about handling and retention that this comparison cannot answer for every service.

Workaround

Remove personal details first and review the tool's current privacy terms before uploading confidential material.

Our tradeoff

Use generation for the first visual direction

Ai Image To Image is most useful when you have a picture and want to see a different interpretation of it. It is not a substitute for controlled, pixel-level correction: keep a manual editor in the workflow when labels, identities, geometry, or other exact details must remain intact. Start with an image you can use, describe the intended change, and inspect the output against its source.

Try image transformation
  • Start from an existing picture
  • Describe the visual change you want
  • Review important details against the original

Comparison FAQ

No. Image-to-image AI generates a new interpretation guided by a source picture, while a manual photo editor lets you apply specific changes to selected areas. Some tools offer both kinds of features, so judge the workflow by the control it gives you rather than its label.

Image-to-image transformation is a useful starting point for a broad style change because the photo guides the result. It can still change the subject's details, so compare the output with the original and use manual corrections if exact features matter.

It may be possible to create a similar look manually, but doing so can require several selections, adjustments, and layers. Conversely, a generated result may reach a visual direction quickly without giving you the same control over individual details.

Use it to explore backgrounds, lighting ideas, or campaign concepts from a product image. If the final photo must show the actual product faithfully, verify its shape, color, markings, and any printed text against the source.

An image-to-image workflow needs a source picture. If you only have a written idea, begin with a text-to-image generator; you can then use its output as a source for later variations.

Start creating
Start creating