Profile creator
Use a portrait as the subject and a second image as a visual style reference.
Aim for a recognizable face with a changed presentation; check the output for altered features.
convert image to ai avatarTwo-image workflow
To combine two images, decide what each one contributes: a subject, a background, an object, or a style. The right workflow depends on whether you need precise placement or a newly generated scene.
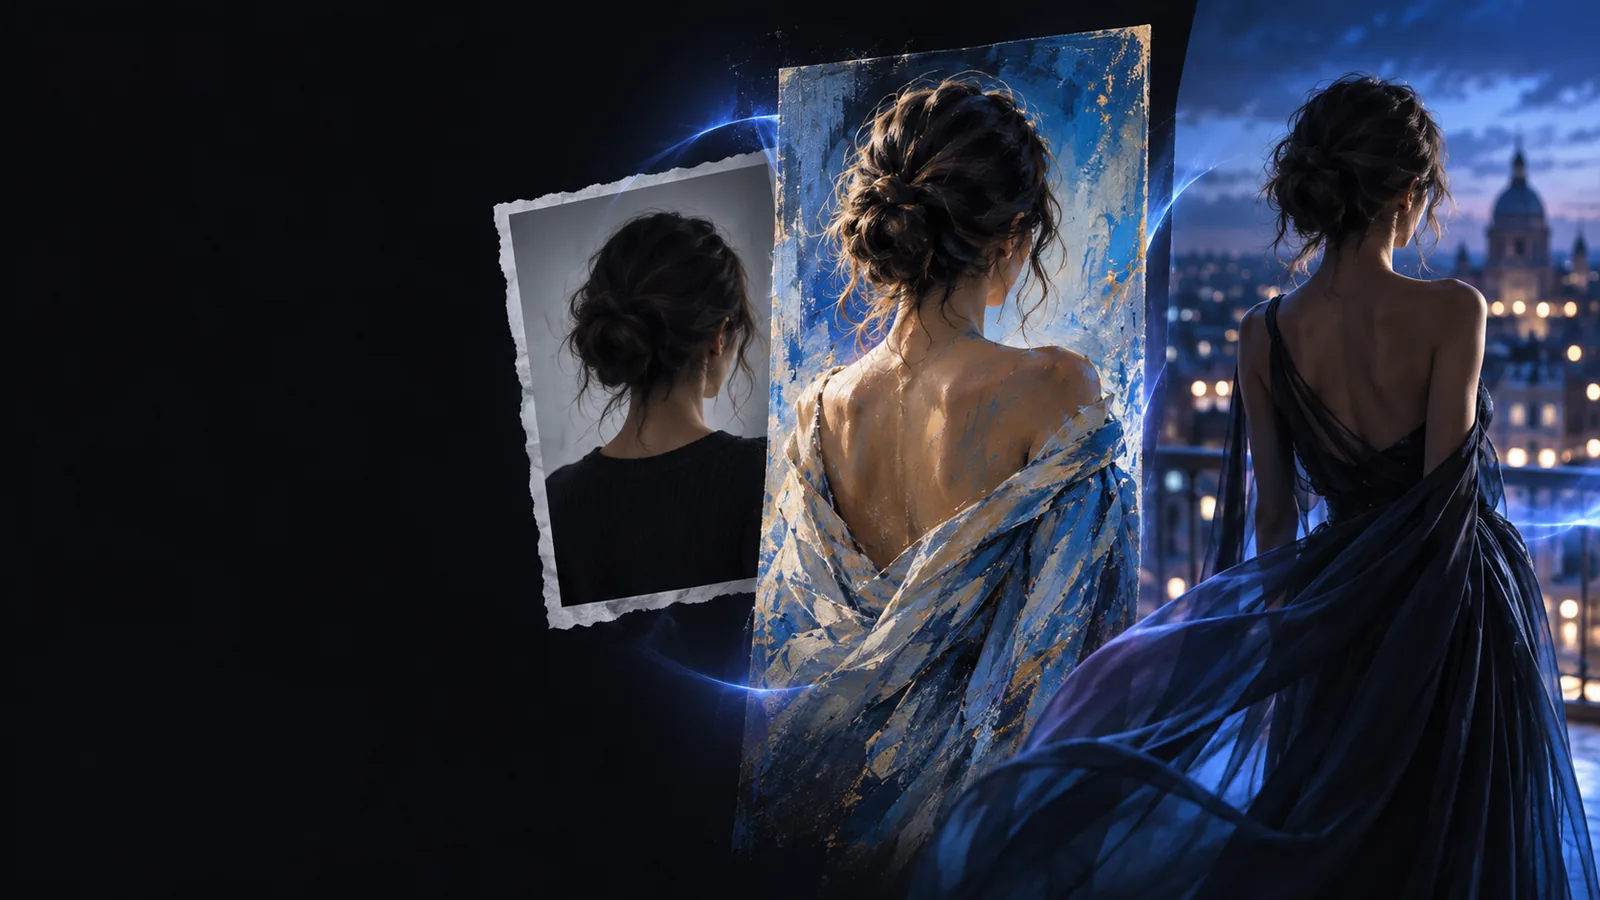
A before-and-after view helps you judge whether a subject still fits the scene. For a true two-image blend, supply the subject and background as separate inputs where the tool allows it.
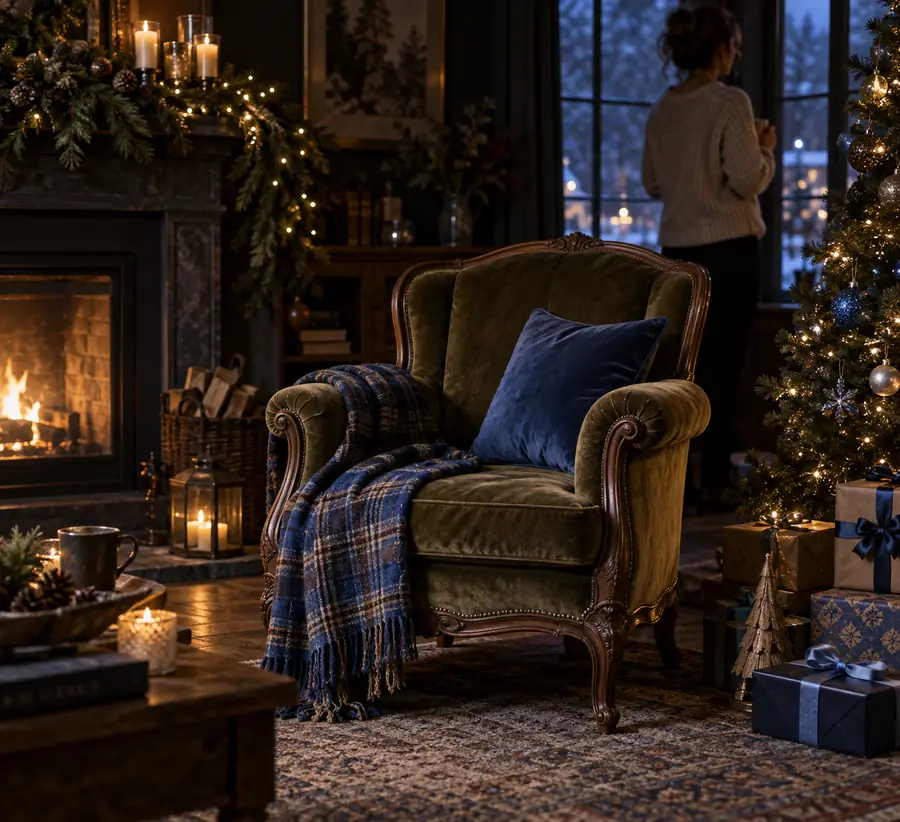
 Before
After
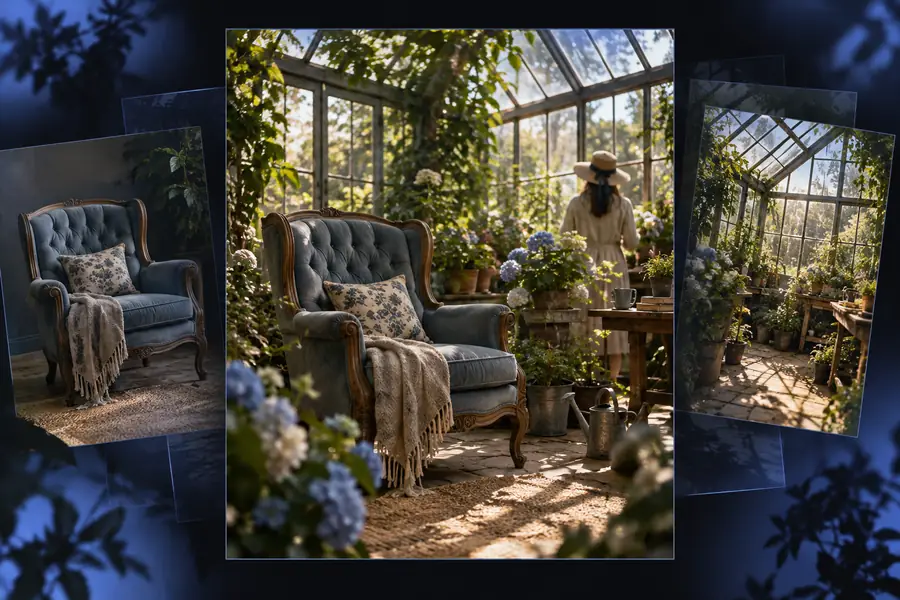
Before
After
Drag the divider to inspect changes in framing and edges; this comparison does not by itself demonstrate a two-file import.
BeforeAfterAn editor is useful when placement must be exact. An image-to-image tool is better when you want the two sources interpreted as one new scene.
Best for
Layer-based editor
Placing a specific cutout onto a specific background
Reference-guided AI tool
Generating a cohesive scene inspired by both inputs
Source roles
Layer-based editor
Each file stays on its own editable layer
Reference-guided AI tool
Files may serve as subject, scene, or style references
Position control
Layer-based editor
Move, scale, and mask elements directly
Reference-guided AI tool
Describe placement in a prompt; results can vary
Original detail
Layer-based editor
Preserved unless you edit or resample it
Reference-guided AI tool
May be reinterpreted during generation
Lighting match
Layer-based editor
Adjust shadows and color manually
Reference-guided AI tool
Request consistent lighting, then inspect the result
Revisions
Layer-based editor
Change one layer without rebuilding the composition
Reference-guided AI tool
Revise the prompt or inputs and generate again
Give each source a job before importing it. That makes the instruction more useful than simply asking a tool to blend two pictures.
Use a portrait as the subject and a second image as a visual style reference.
Aim for a recognizable face with a changed presentation; check the output for altered features.
convert image to ai avatarPair a product photograph with a scene reference for a new setting.
Describe which product details must remain visible and which parts of the scene can change.
ai image generator from imageUse one composition as a starting point and another image for mood.
Compare the result against both sources rather than expecting an exact duplicate.
how can I generate an image similar to another image?Keep a supplied image as the visual base and describe an additional element in words.
Use text when a second reference file would make the intended change less clear.
what is ai image to image from textCheck the tool’s input controls first: some accept two uploaded images, while others take one image and a written reference description.
Choose a clear subject image and a background or style reference. Crop out unrelated clutter, and keep enough space around the subject for placement.
Import both files if separate image inputs are available. Identify which file supplies the subject and which supplies the scene; do not assume upload order communicates that.
Specify placement, scale, lighting, and which details to preserve. For example, ask to keep the first image’s subject and use the second image’s garden as the setting.
Look closely at edges, shadows, hands, and recognizable features. If something drifts, tighten the instruction or use a layer-based editor for exact positioning.
If the tool ignores one file, confirm that both uploads finished and that each image has a stated role. If the subject looks pasted on, revisit perspective, lighting, and edge detail.
Begin with a subject and a scene, then state what should stay unchanged. If the result loses an important detail, revise the instruction or switch to manual layers for tighter control.
Try combining imagesSome tools provide separate inputs for a source image and a reference image; others accept only one upload. Check the available controls before starting, and state each image’s role in your instruction.
Use a clear subject photo and a background with a compatible viewing angle. Ask the tool to retain the subject from the first image and use the second image as the setting, then inspect edges, scale, and shadows.
Not necessarily. Generative tools may change facial features, product details, or clothing as they build a new scene. A layer-based editor is a better choice when those details must remain pixel-accurate.
Upload the image containing the detail you most need to preserve and describe the other scene in text. If both original files must appear exactly as supplied, use an editor that supports layers instead.