First image edit

Start here: an ai image to image tutorial for beginners

This ai image to image tutorial for beginners starts with one choice: do you want to change how a picture looks, or repair what is already there? Pick a path, keep the original beside you, and make one small change at a time with Ai Image To Image.

Review your image before uploading
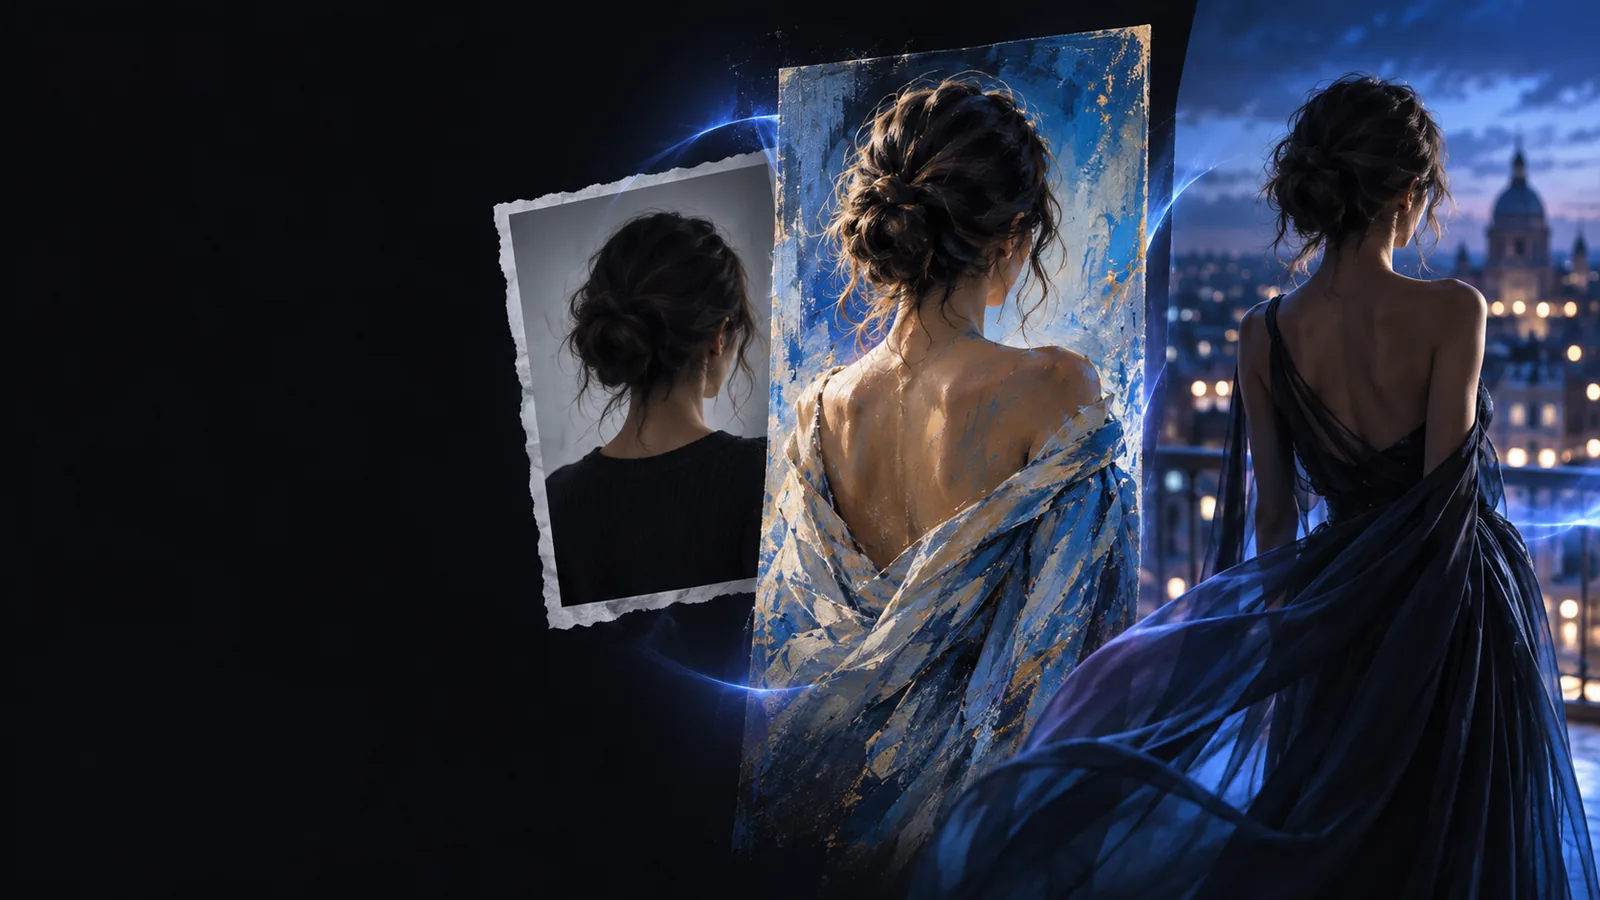
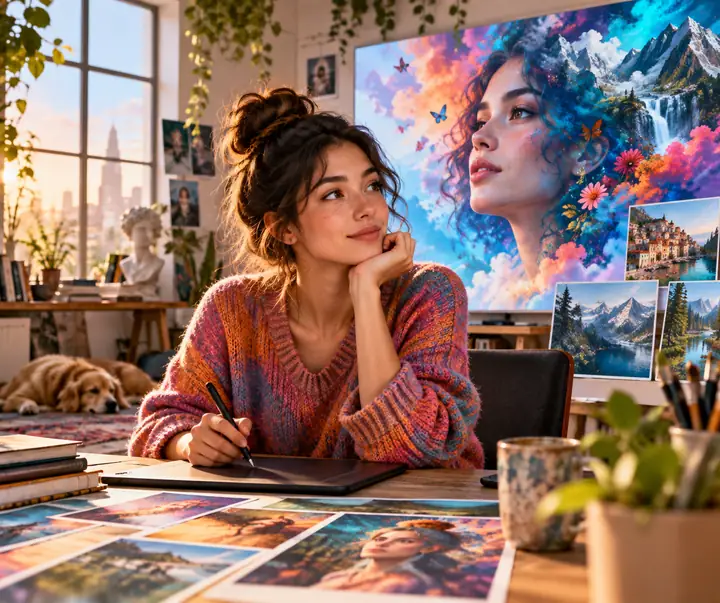
Example image transformation shown in the Ai Image To Image hero

Shared workflow

Both paths use the same short loop. Only the wording of the prompt and the details you inspect will change.

  1. 1

    Choose a readable source

    Start with a photo whose main subject is visible. Check the edges and background before uploading: AI image to image generation can change details you did not mention, especially small text, hands, and distant objects.

  2. 2

    State the change and the boundaries

    Write one desired change, then name what must remain. For example, request a watercolor finish while preserving the person's face, pose, and crop. A focused beginner prompt is easier to evaluate than a long list of competing styles.

  3. 3

    Compare and revise

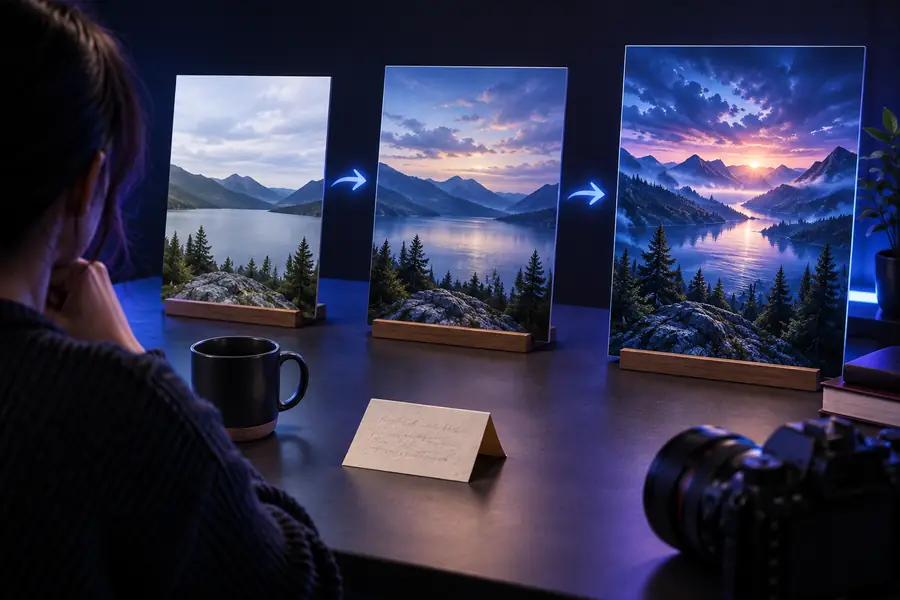
    Generate a result and look at the original beside it. If identity or composition drifted, strengthen the preservation instruction; if the change is too subtle, describe the intended finish more concretely. Change one part of the prompt per attempt.

Change the style

path A

Use this path when the subject and composition already work, but you want a different visual treatment.

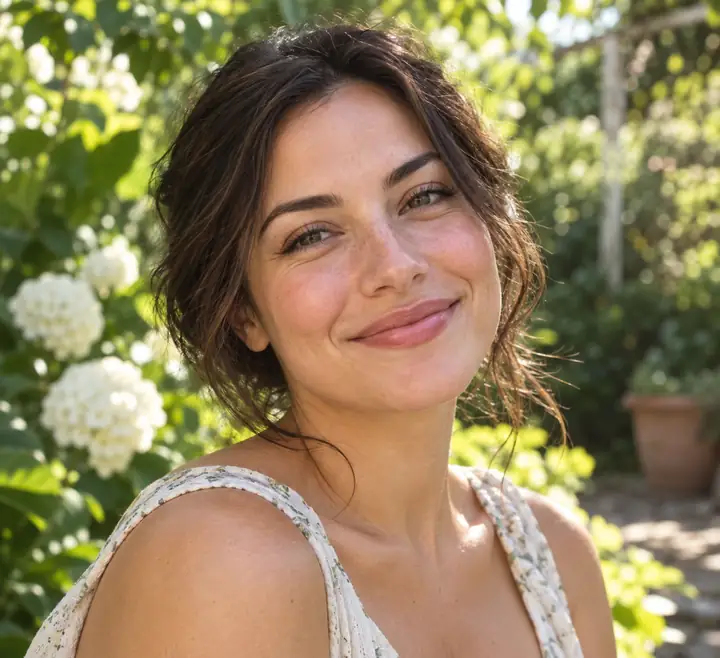
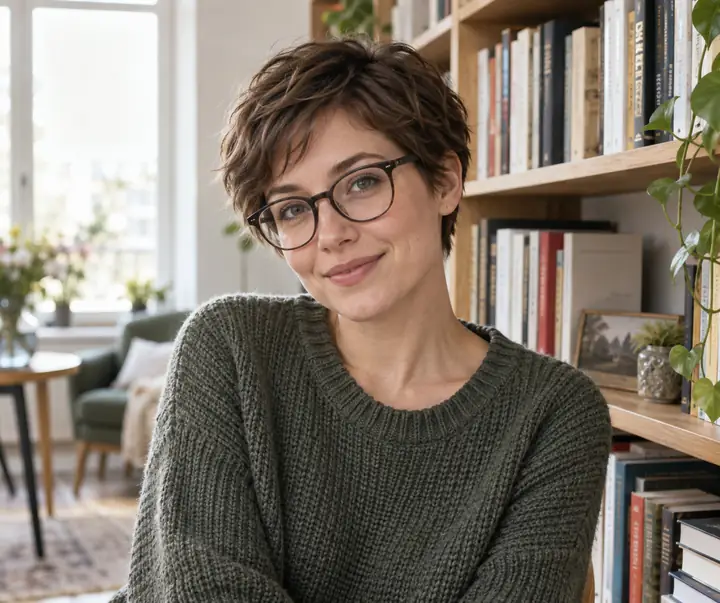
Original portrait prepared for a style transformation

Name the subject before the style

Upload a clear image and identify the part that should survive the transformation. A useful request might be: “Restyle this garden portrait as a soft watercolor; keep the person's expression, pose, and camera angle.” Naming the existing subject helps the edit stay anchored to your photo rather than inventing an unrelated scene. For a first try, avoid asking for a new setting, outfit, lighting scheme, and art style at once.

KEEP FIXED

State the face, pose, and crop explicitly when those details matter.
Portrait shown with a painterly restyle

Describe visible qualities

Replace vague words such as “better” or “artistic” with things you could point to: loose brush edges, muted greens, textured paper, or warm afternoon light. In an AI image to image workflow, those details give you something testable. After the first result, ask whether the output actually shows the requested finish and whether the person still looks like the source.

PROMPT TEST

If you cannot name the visible change you want, simplify the request.

Garden portrait used to evaluate subject and background consistency

Revise without starting over

If the background changes too much, try “retain the original garden layout.” If the style barely appears, make the finish more specific instead of removing the preservation instructions. Keep the same source image while testing each revision; swapping both the photo and prompt makes it hard for a beginner to tell which change helped.

ONE VARIABLE

Change one instruction, then compare again with the original.

Repair the photo

path B

Choose this path for damage or fading when preserving the original scene matters more than changing its style.

You must have

Without every one of these the route does not run.

  • Use the clearest scan or photo of the original that you have.

    A sharper source gives you a better reference for faces, clothing, and edges; AI cannot verify details that are missing.

  • Name the damage to address, such as scratches, fading, or dust.

    Ask to reduce the named defect rather than “make it perfect,” which leaves too much open to interpretation.

  • Tell the tool to preserve faces, clothing, and the original crop.

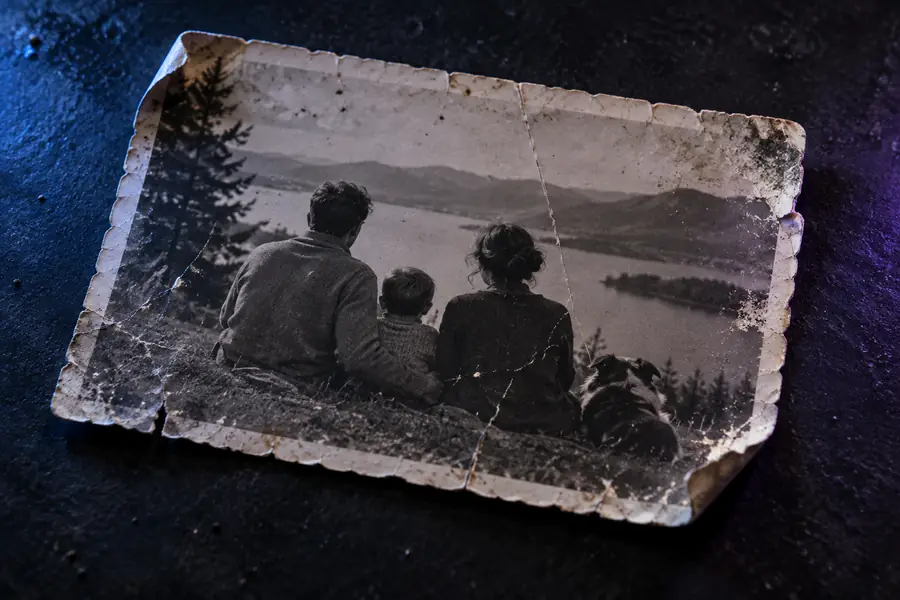
    For an old portrait, try: “Reduce scratches and fading; preserve the people's features, clothes, and framing.”

  • Keep an untouched copy for side-by-side inspection.

    Check whether restored details look plausible; a convincing result is not proof that a reconstructed detail is historically accurate.

Nice to have

Skip any of these and the route still works — they only make it faster.

  • Make a second pass for a remaining defect.

    Only add another instruction after checking what the first pass changed.

Keep exploring

If your first result points to a more specific task, these related guides pick up where this beginner workflow leaves off.

Set expectations

Neither beginner path is a guarantee of an exact edit. Treat the result as a candidate to inspect, not a replacement for the source.

It cannot confirm lost details

A restored eye, letter, or background object may look credible even when the source does not contain enough information to establish its original appearance.

Workaround

Compare with another copy of the photo if one exists, and do not present reconstructed details as verified.

It cannot promise an identical face

Strong restyling may subtly alter facial features or other identity cues despite a preservation request.

Workaround

Ask for a gentler style change and compare the face closely against the source.

It cannot keep every small element exact

Signs, logos, fingers, and fine patterns may shift during AI image to image generation.

Workaround

Inspect those areas at full size and use a precise editing tool for elements that must match exactly.

Workflow context

Image-guided generation did not arrive as a single feature; these milestones explain why a source photo and a written instruction now work together.

  1. DeepDream drew attention to image transformation

    Google's DeepDream experiments showed how a neural network could reinterpret an existing picture, although they were not a practical prompt-based editing workflow.

  2. Pix2pix formalized paired image translation

    The pix2pix research paper demonstrated learned transformations between related kinds of images, such as sketches and photographs.

  3. Diffusion tools made image-guided prompting accessible

    Stable Diffusion's image-to-image workflows helped bring the source-image-plus-text-prompt pattern to a broader audience.

  4. ControlNet added stronger structural guidance

    ControlNet showed how extra guidance, including edges or poses, could help retain composition during diffusion-based generation.

Inspect the result

final check

Drag the divider across this restoration example, then apply the same close inspection to your own output.

Old photograph before restoration The same old photograph after an AI-assisted restoration Original Restored

Check faces, edges, clothing, and the crop—not just the most obvious damage. A cleaner-looking image can still contain changed details.

OriginalRestored

Try your path

Make one deliberate change

Choose a photo, decide whether you are restyling or repairing it, and write down what must stay the same. Run one prompt, compare the result with your source, and revise only what needs attention.

Transform my image
  • Start with a source you can inspect
  • Name the change and the details to preserve
  • Keep the original for comparison

tutorial FAQ

Start with a clear photo and a modest change, such as giving a portrait a watercolor finish while keeping its pose and framing. That makes it easier to spot whether the tool followed your prompt. Save the original so you can compare it with the output.

Say what is in the uploaded picture, describe one change, and identify what should stay fixed. For example: “Turn this garden portrait into a watercolor; keep the person's face, pose, and crop.” Replace broad requests such as “improve it” with visible qualities you can check.

Choose restyling when you like the content of the photo but want a different visual finish. Choose restoration when your priority is reducing damage or fading while retaining the existing scene. If both matter, begin with the more important goal and inspect the result before trying a second change.

Image-guided generation interprets the source rather than copying every pixel, so small features can drift. Make the preservation request more specific and reduce the scope of the change on your next attempt. Always check important faces, text, and objects against the original.

No. It may produce a plausible-looking reconstruction where the source is too damaged to establish what was there. Keep the unedited original and avoid treating invented or uncertain details as a verified historical record.

Start creating
Start creating