Portrait photographer
Start with a sharp face in even light. Ask for a different setting while keeping the expression, age and facial proportions.
A plausible portrait variation to inspect for likeness.
image to image ai editorRealistic transformations
For image to image ai realistic results, give Ai Image To Image a clear source photo and describe the change you want—not a replacement for everything in the frame. Keep distinctive features in view, then check the output closely.
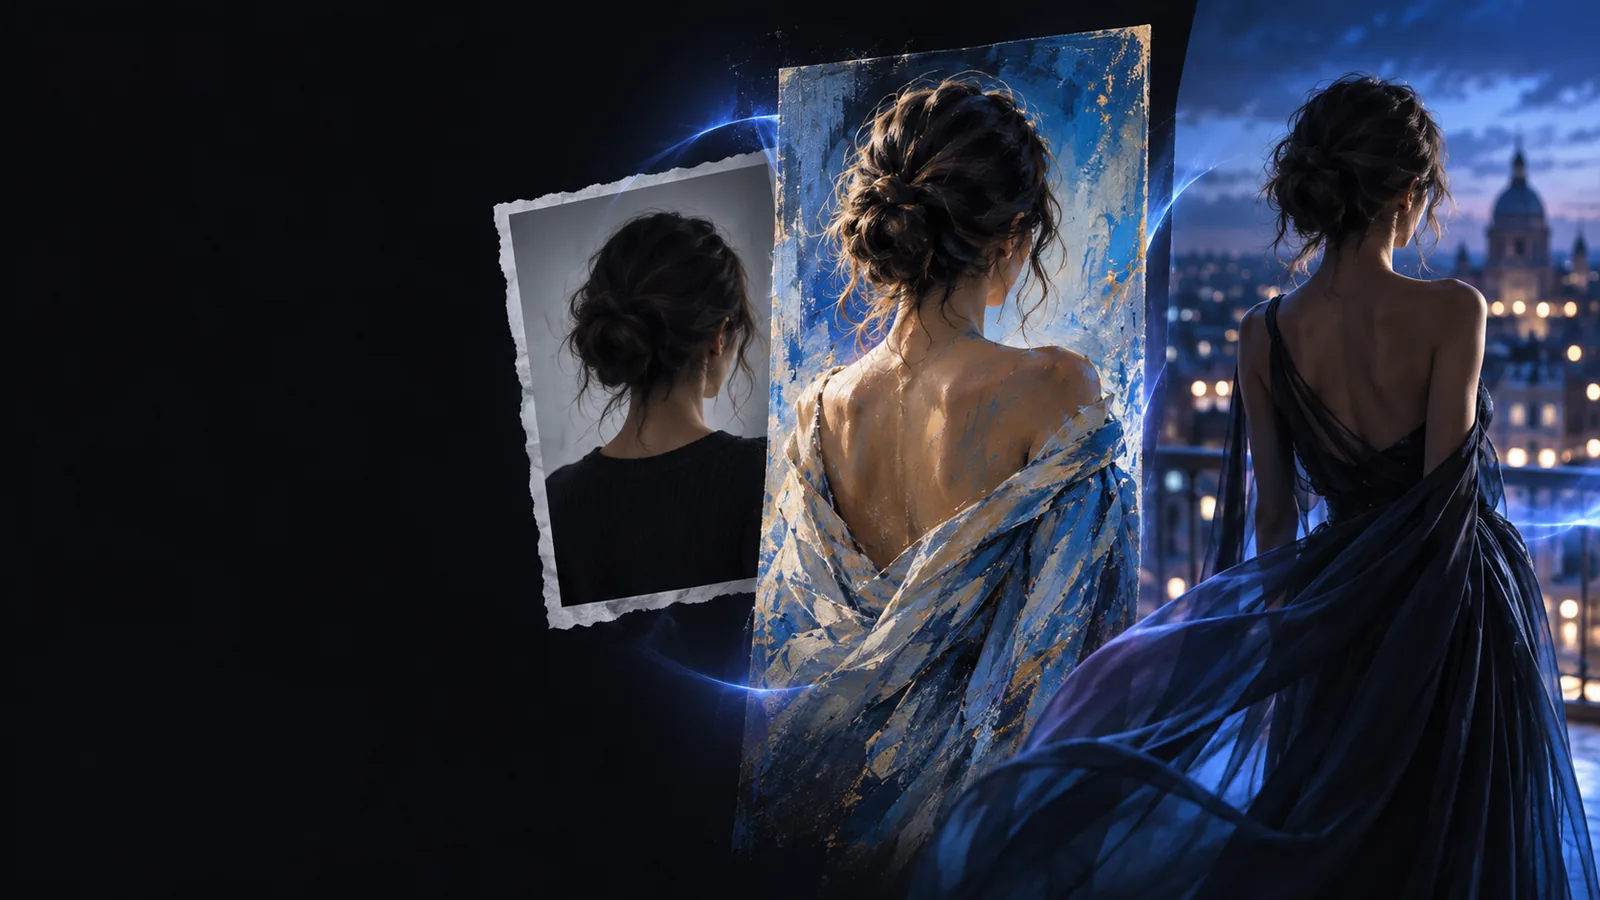
A well-lit source, a visible subject and a narrow edit request give ai image to image more useful information than a vague style instruction.
Start with a sharp face in even light. Ask for a different setting while keeping the expression, age and facial proportions.
A plausible portrait variation to inspect for likeness.
image to image ai editorUse a clean product photo with visible edges. Request a new surface or backdrop without changing the item's shape or markings.
A lifestyle concept that still needs a label and geometry check.
ai image to image generatorPhotograph the room from a stable angle. Name the furniture or finishes to change and the architecture to retain.
A realistic direction for discussing a room update.
image to image ai editorChoose a landscape with a clear horizon. Change the time of day while preserving the location's major landmarks.
An atmospheric variation, not a documentary record.
ai image to image generatorUse a single controlled change so you can tell whether ai image to image preserved the original subject.
Select a front-facing, in-focus portrait with the full face visible. Avoid strong filters and heavy shadows; both can obscure the features you want retained.
Ask for a softly lit studio background. Explicitly keep the person's face, pose, clothing and natural skin texture; describe the desired light rather than saying only “make it realistic.”
Compare the output with the source at full size. If the eyes, hands or clothing change unexpectedly, narrow the instruction and try again instead of adding more unrelated details.
For a realistic portrait, keep the request focused on lighting and surroundings. Ai image to image may reinterpret small facial details even when the prompt says to retain them.
A clean outline helps the model distinguish the product from its background. Check logos, printed text and small hardware against the source before using the image.
Changing weather or light is easier to judge than replacing the entire location. Inspect horizons, reflections and landmark placement for realistic continuity.
In image to image ai realistic work, a narrow instruction usually makes source fidelity easier to assess. A broad restyle gives ai image to image more freedom but more ways to drift.
Main request
Narrow edit
Change one element, such as background or light
Broad restyle
Reimagine the whole scene
Subject identity
Narrow edit
Explicitly retained and checked
Broad restyle
More likely to change
Composition
Narrow edit
Original framing remains the reference
Broad restyle
Framing may shift
Prompt detail
Narrow edit
Name what changes and what stays
Broad restyle
Describe an overall look or mood
Best starting image
Narrow edit
Clear photo with recognizable details
Broad restyle
Clear photo with room for interpretation
Review priority
Narrow edit
Check the edited area and its edges
Broad restyle
Check the entire image for drift
Ai image to image can produce convincing impressions, but visual plausibility is not proof that every detail survived.
A plausible face may still differ from the person in the source, particularly when part of the face is hidden.
Workaround
Use a clearer source and compare distinctive features before sharing.
Labels, signs and logos can become distorted or turn into convincing-looking nonsense.
Workaround
Check all lettering against the source and add essential text separately.
The model cannot recover a hand, object edge or room feature that the source never shows.
Workaround
Choose another source angle or avoid requesting an exact reconstruction.
New shadows and reflections may not agree with the requested time of day or with nearby surfaces.
Workaround
Specify one light direction and inspect reflective areas at full size.
If your goal shifts from source fidelity to detailed editing or a looser variation, these routes provide a better starting point.
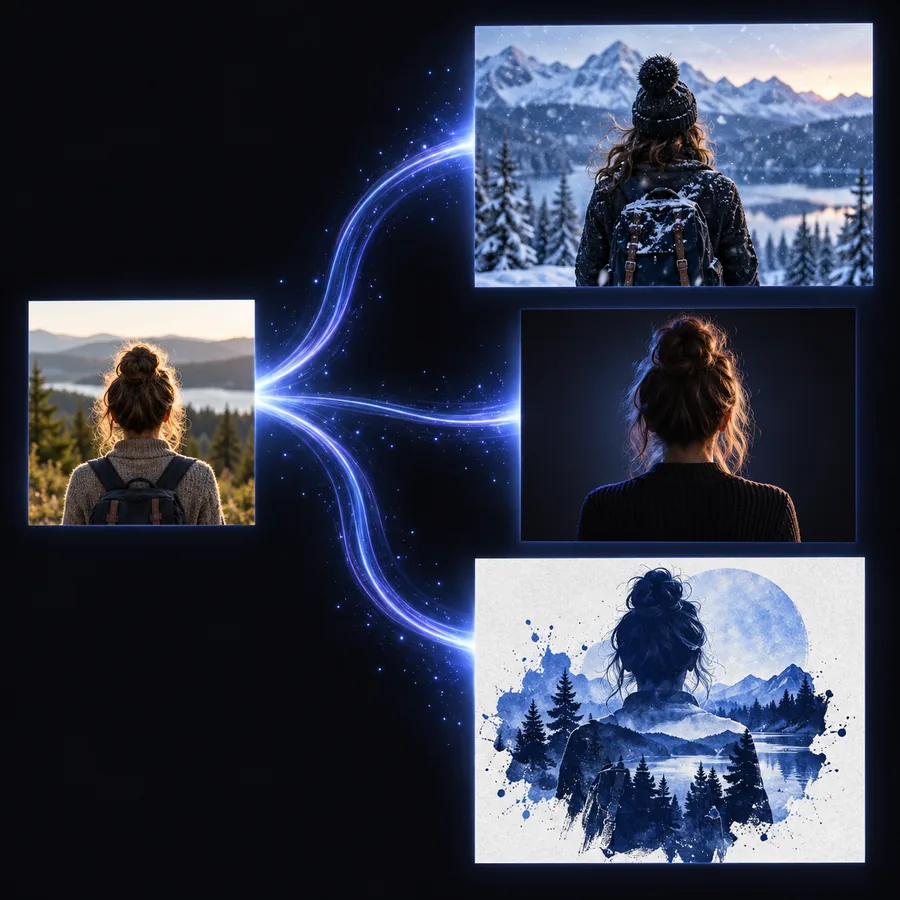
A polished result can hide changes to identity, shape or texture. Put the source beside the output and inspect those details before deciding whether the realistic transformation worked.
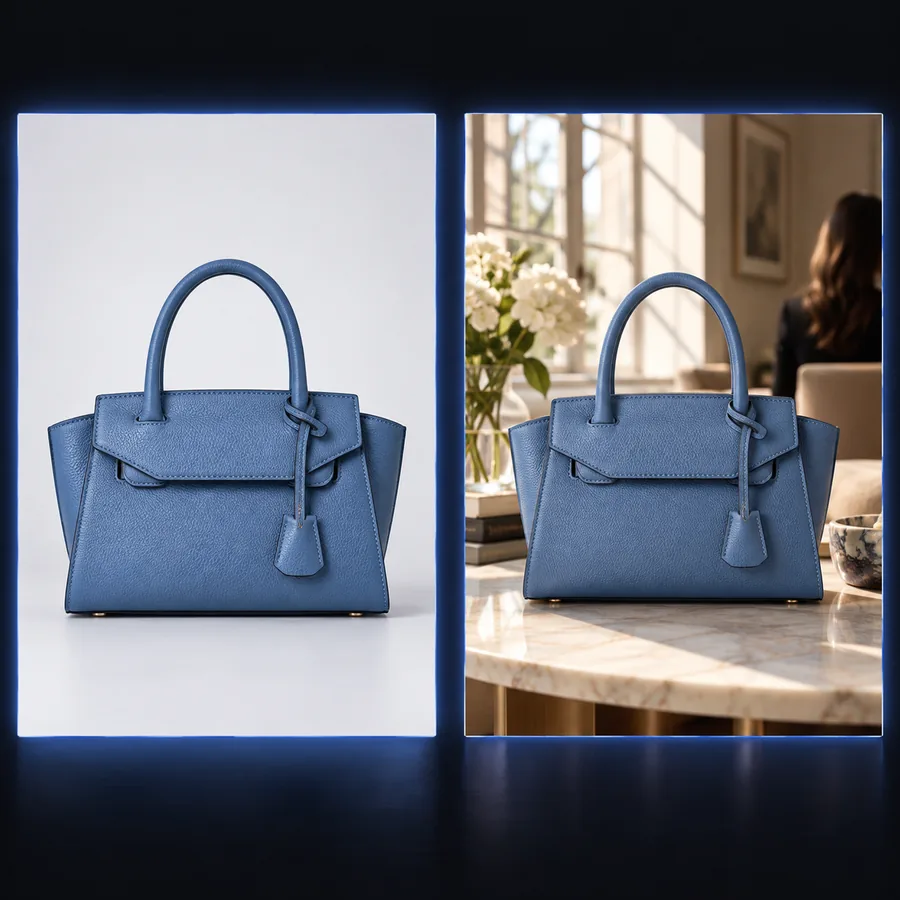
When a background changes, the subject's shadows and reflections should still make sense within the scene. If they do not, revise the lighting request rather than calling the first ai image to image output finished.
Upload a clear image, describe the detail to preserve and request one visible change. Compare the result with your source before using it as a realistic image.
Transform my imageIt can produce a realistic-looking variation when the source is clear and the requested change is specific. Inspect the output closely: a believable appearance does not guarantee accurate faces, text or object details.
Choose a sharp, well-lit image that clearly shows the subject and the details you want preserved. Heavy blur, occlusion and extreme filters leave more for ai image to image to guess.
State what must remain unchanged, such as facial features, pose, shape or markings, and request a narrow edit. Then compare the output with the source; a prompt cannot guarantee exact preservation.
A result may contain inconsistent shadows, altered features or invented small details even when the overall scene looks convincing. Try a clearer source and a simpler instruction, then check the areas where the first result failed.