Image editing

Make focused changes with an image to image ai editor

Start with an existing picture, then describe what you want changed and what must stay. An image to image ai editor is useful when the original composition matters more than creating an entirely new scene.

Free to start · no signup
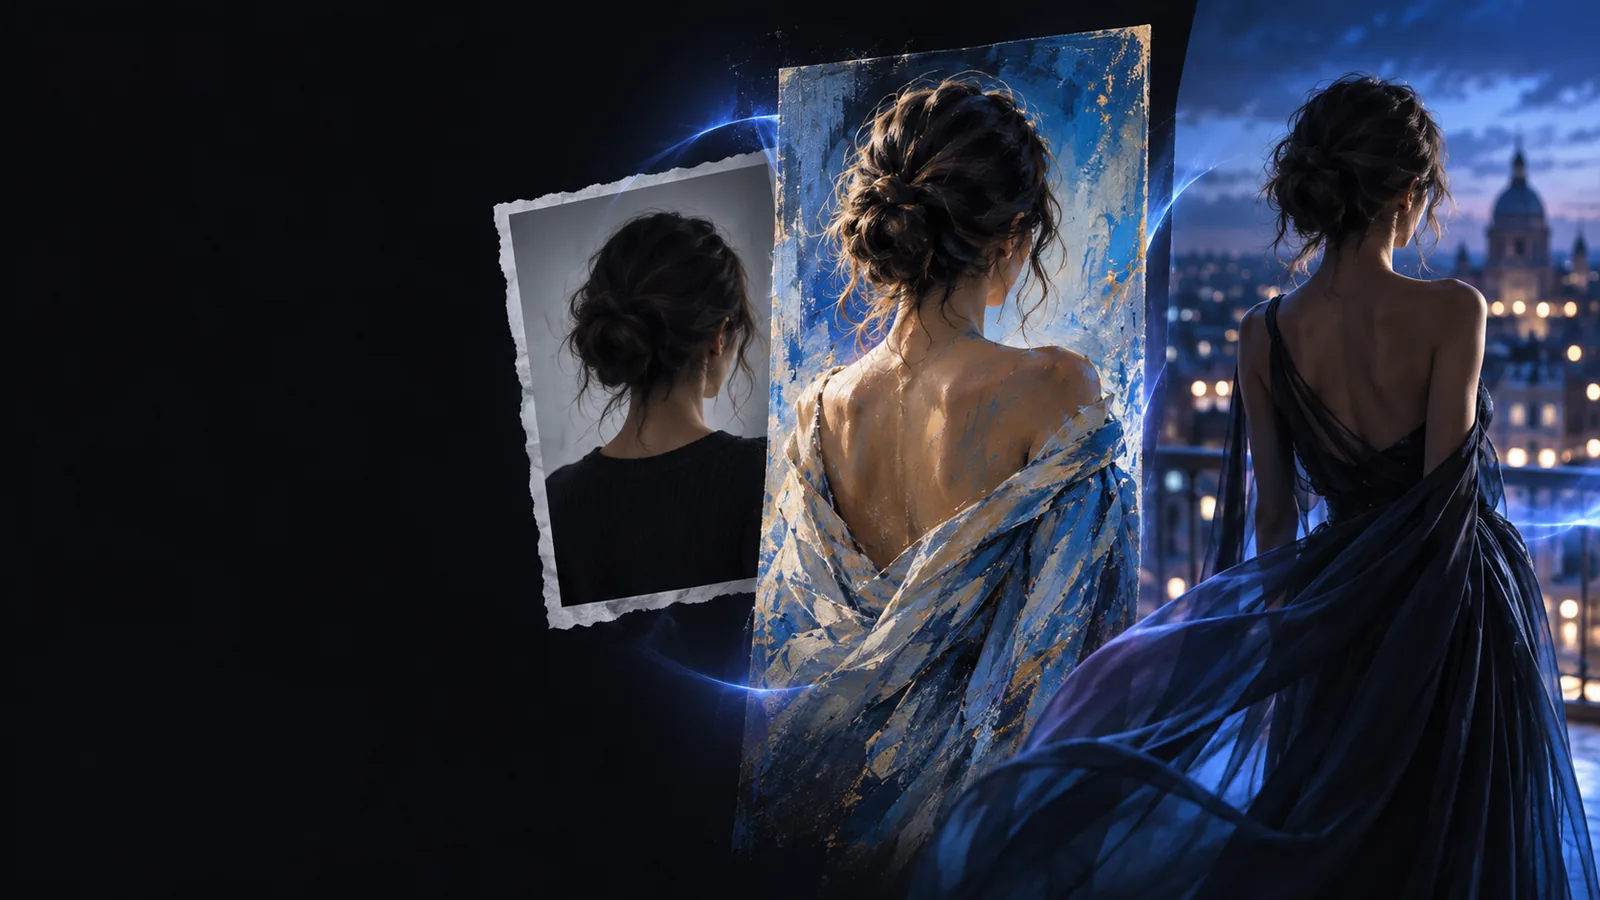
Image transformation shown as the site's main visual

The three things an editor does differently

An editor gives your existing picture a job: supply the subject, establish the framing, or preserve details that a fresh generation might replace. These examples show where that distinction helps.

Portrait photographer

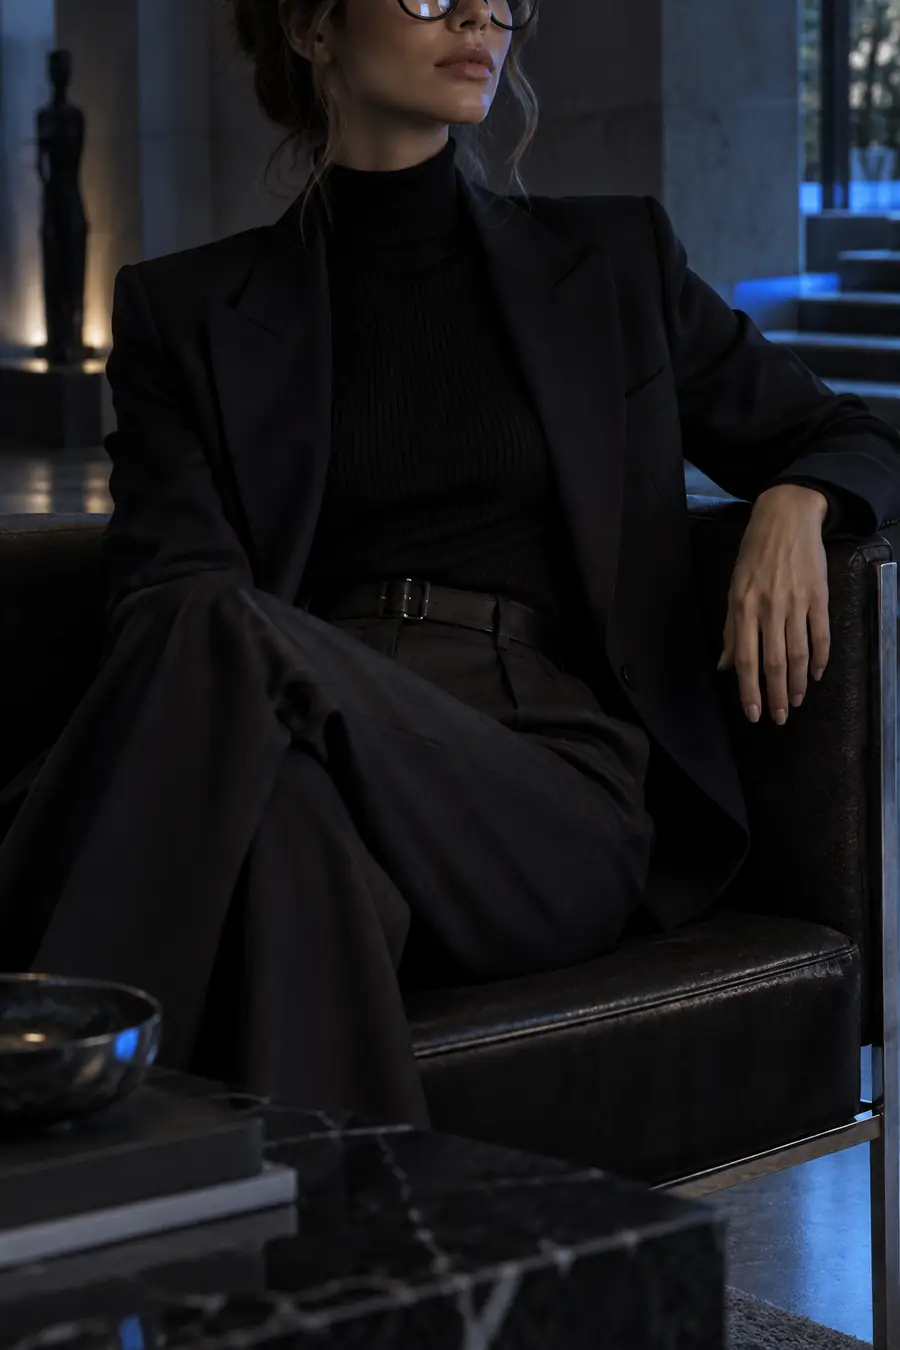
Replace a distracting background while keeping the sitter's expression and pose as close to the source as possible.

For a different goal, image to image ai realistic focuses on making the finished portrait look photographically convincing.

image to image ai realistic
Product marketer

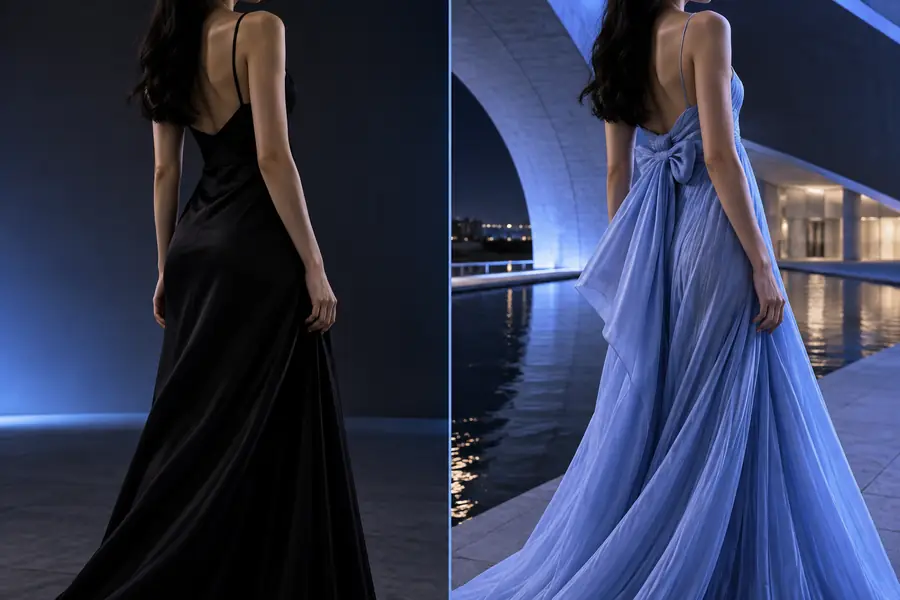
Place an existing product photo in a new setting without rewriting its shape, color, or visible branding.

An ai image to image generator is better suited to exploring several new scenes from the same reference.

ai image to image generator

Interior designer

Test a wall color or material while preserving the room layout and the placement of major furniture.

The image to image ai realistic guide explains what to check when the revised room needs believable lighting and texture.

image to image ai realistic

Illustrator

Try a new palette or atmosphere without losing the reference image's principal figures and broad composition.

An ai image to image generator offers a wider route when the aim is a new interpretation rather than a narrow edit.

ai image to image generator

See what an edit should preserve

In this example, the glasses remain the visual reference while the surrounding image changes. Compare the pair for continuity, not just for whether the second picture looks appealing.

Source image of glasses before an AI image edit Source image
Edited image showing glasses after the change Edited result
Inspect the frames and lenses closely: a convincing scene is not a successful edit if a defining product detail has changed.

How to start with a source image

The strongest instructions separate the requested change from the details that should remain. Work from one clear source and revise one objective at a time.

  1. 1

    Choose a clear source

    Use an image where the subject and the part you want to change are easy to distinguish. A cropped, blurry, or heavily obscured source gives the editor less reliable information.

  2. 2

    Name the change and the constants

    Describe the new background, color, material, or mood. Then explicitly protect the subject, pose, composition, or product features that matter to you.

  3. 3

    Review and refine

    Check the output against the original before trying another prompt. If too much changed, narrow the request; if too little changed, describe the intended result more specifically.

This entry point vs the general one

Both approaches can use a reference image, but they start with different expectations. Choose an editor when continuity is the requirement; choose general generation when exploration matters more.

Image-to-image editor
General image generation

Starting point

Image-to-image editor

An existing picture is the main reference.

General image generation

A prompt or reference can inspire a new picture.

Primary aim

Image-to-image editor

Change a specified part of the image.

General image generation

Explore a new scene or interpretation.

Composition

Image-to-image editor

Ask to retain the source framing.

General image generation

Allow the framing to vary.

Subject identity

Image-to-image editor

Describe which features must remain.

General image generation

Treat the reference as guidance, not a guarantee.

Prompt emphasis

Image-to-image editor

State both the edit and what to preserve.

General image generation

Describe the desired final image.

Best review method

Image-to-image editor

Compare the output directly with its source.

General image generation

Judge each result against the concept.

Limits of an AI-assisted edit

A prompt guides a transformation; it does not lock pixels or certify that every protected detail survived. Check important features yourself before using a result.

It cannot promise an identical face or object

Small changes to facial features, logos, lettering, and product geometry can appear even when you ask to keep them.

Workaround

Compare the output with the source at full size and use a conventional editor for details that must be exact.

It cannot recover information absent from the source

A hidden hand, unreadable label, or severely blurred feature may be invented rather than faithfully restored.

Workaround

Start with a clearer reference or avoid requesting changes that depend on unseen details.

It cannot guarantee a single isolated change

Background edits may also shift lighting, edges, shadows, or nearby parts of the subject.

Workaround

Make a narrower request, name the details to preserve, and inspect the boundary of the edited area.

It cannot replace pixel-level retouching

Precise masking, measured color matching, and placement of exact text require controls beyond a natural-language prompt.

Workaround

Use the generated result as a draft, then finish exacting work in a manual image editor.

Start with one deliberate change

Give your existing image a clear direction

Choose a source picture, describe one change, and say which details should remain. Compare the result with your original before deciding whether to refine the prompt.

Edit my image
  • Work from a source image
  • Specify what stays
  • Review the result against the original

Image to image AI editor FAQ

It uses an existing image as the starting point for a prompted change. You can describe a new setting, color, or style while asking it to retain important parts of the source. The result still needs review because preservation is not guaranteed.

You can ask for a background change and specify that the subject, pose, and clothing should remain. The change may also affect edges, shadows, or lighting around the subject. Compare those areas closely with the original.

Editing starts with a particular picture whose contents you want to carry forward. General generation gives more freedom to reinterpret the scene. If the original framing or subject matters, state that explicitly in an editing prompt.

Name the change first, then list the details to keep, such as the person's pose, the product shape, or the camera angle. Use observable descriptions rather than vague instructions like make it better. If the first result changes too much, narrow the next request.

Start creating
Start creating