Practical guide

See how to use ai image to image free, step by step

Start with an image you have permission to use, describe what should change, and compare the result with your original. This guide shows a first attempt, then explains how to improve it without losing the subject you wanted to keep.

Review your image before uploading
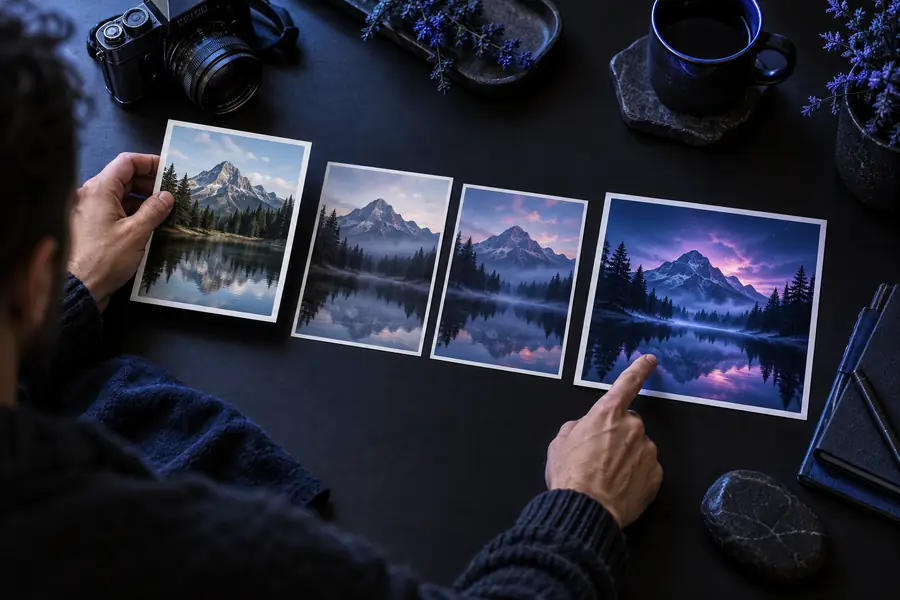
Example imagery for an image-to-image transformation

numbered steps

Treat the first result as a draft. A small, well-described change is easier to assess than a complete makeover.

  1. 1

    Choose and upload your source

    Pick a clear image with the subject fully visible. Save the original separately, then upload the copy you want to transform. Crop distracting edges first if they are not part of the scene.

  2. 2

    Write a change-and-keep prompt

    State the desired edit, then identify what must remain: for example, restore faded color while keeping the person's face, pose, clothing, and background layout. Avoid asking for several unrelated changes at once.

  3. 3

    Generate and compare

    Run the transformation and inspect the output beside the original. Look closely at faces, hands, lettering, object edges, and background details; an attractive image is not necessarily a faithful edit.

  4. 4

    Revise one instruction

    If something important changed, make your next prompt narrower. Describe the specific mistake and restate the detail to preserve, so you can tell whether the revision helped.

Check the result against the original

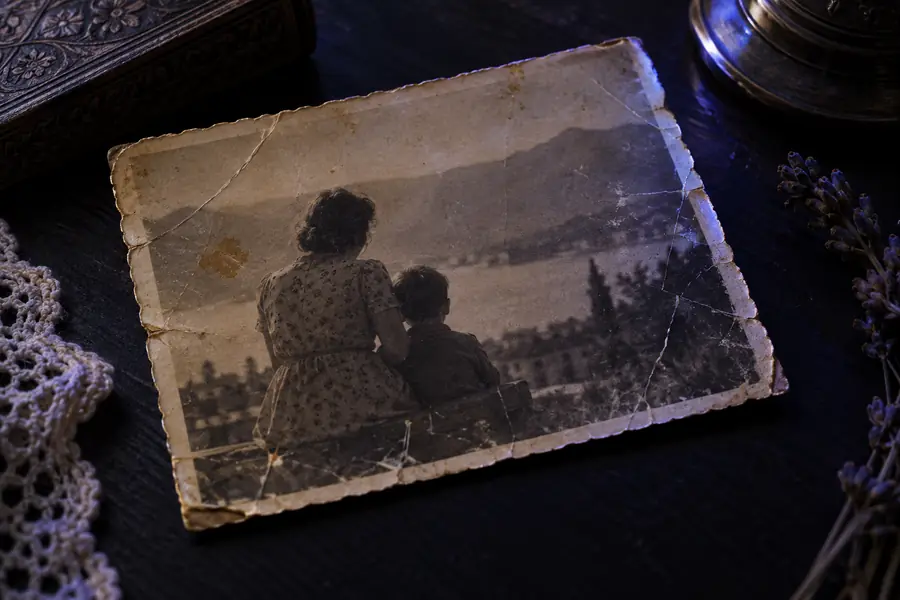
Original aged photograph before an example restoration Example restored version of the same photograph Original Example result

Drag the divider or use the slider with a keyboard to compare the same scene. This is an illustrative example, not a promise that every restoration will preserve every detail.

OriginalExample result

Prepare your image before uploading

You must have

Without every one of these the route does not run.

  • A source image you own or have permission to edit

    Permission matters even when an edit is only for experimentation.

  • One specific outcome, such as a new setting or a gentler color treatment

    Write it down before generating so you can judge the output against it.

  • An untouched copy of the original

    Use it to spot changed features and recover if the edit goes too far.

Nice to have

Skip any of these and the route still works — they only make it faster.

  • A cropped or redacted copy with private information removed

    Especially useful when a photo contains documents, addresses, or bystanders.

  • A short list of features to preserve

    Names such as face shape, product logo, or camera angle make revisions more precise.

Choose a related starting point

If your goal is narrower than a general transformation, use the guide that matches the image you have.

common errors and fixes

Most disappointing results are either too different from the source or too close to it. Correct the prompt before changing everything else.

It cannot guarantee an exact likeness

A generated face or distinctive object can drift even when the prompt asks for no changes. Inspect small features rather than judging only the overall mood.

Workaround

Request a smaller edit and compare facial features or product details against the untouched original.
It cannot reliably recover missing facts

An old photo may have unreadable text or obscured details. A plausible-looking restoration can invent what was never visible.

Workaround

Treat reconstructed details as interpretations; keep the original when accuracy matters.

It cannot know which parts are important to you

A broad request such as 'make it better' leaves the subject, composition, and style open to interpretation.

Workaround

Name the subject, the single intended change, and two or three details to preserve.

It cannot make a sensitive upload risk-free

An online edit requires sending an image to a service. A polished output does not undo exposure of private information in the source.

Workaround

Crop or obscure identifying information first, or do not upload that image.

How the workflow evolved

The upload, prompt, compare, revise routine became practical as image models gained better ways to follow both pictures and words.

  1. Generative adversarial networks introduced

    GAN research established a widely used approach to generating images, though controlling a specific edit was still difficult.

  2. Paired image translation gained traction

    Pix2pix demonstrated how a model could learn a transformation from aligned before-and-after examples, such as sketches and corresponding images.

  3. Diffusion models advanced image synthesis

    Diffusion research offered another path to generating and refining images, setting the stage for more flexible image-guided editing.

  4. Latent diffusion broadened access

    Working in a compressed image representation made prompt-guided generation more practical. The basic editing habit remained the same: specify the change, inspect the output, and revise.

advanced tips

Once the first edit works, improve control by changing one variable at a time.

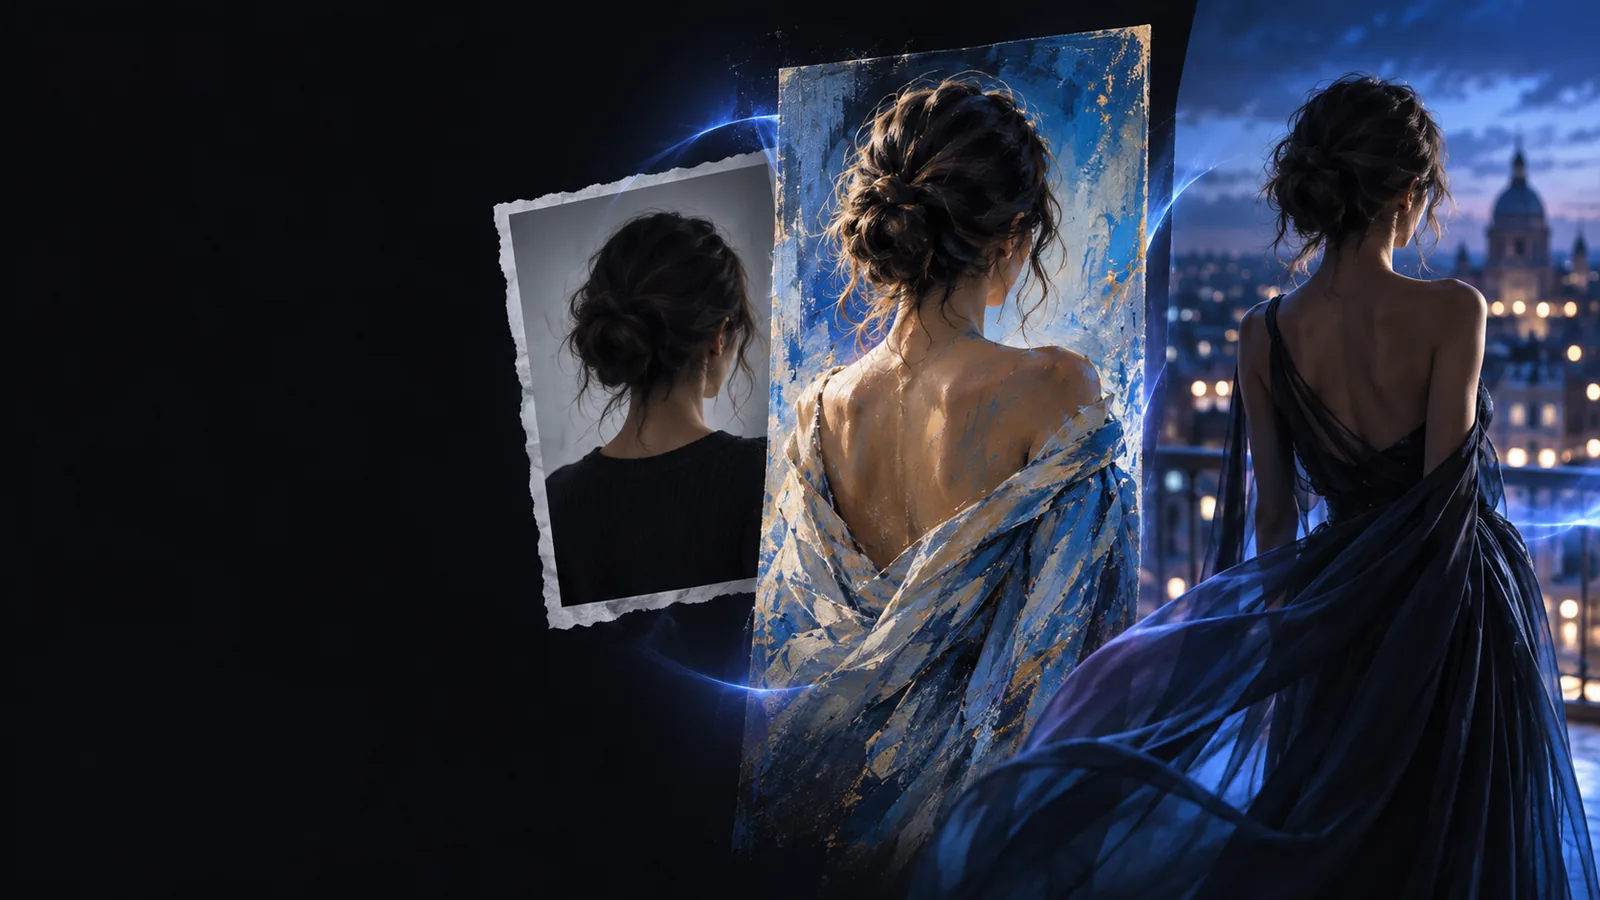
Image transformation example illustrating a focused visual change

Separate change from preservation

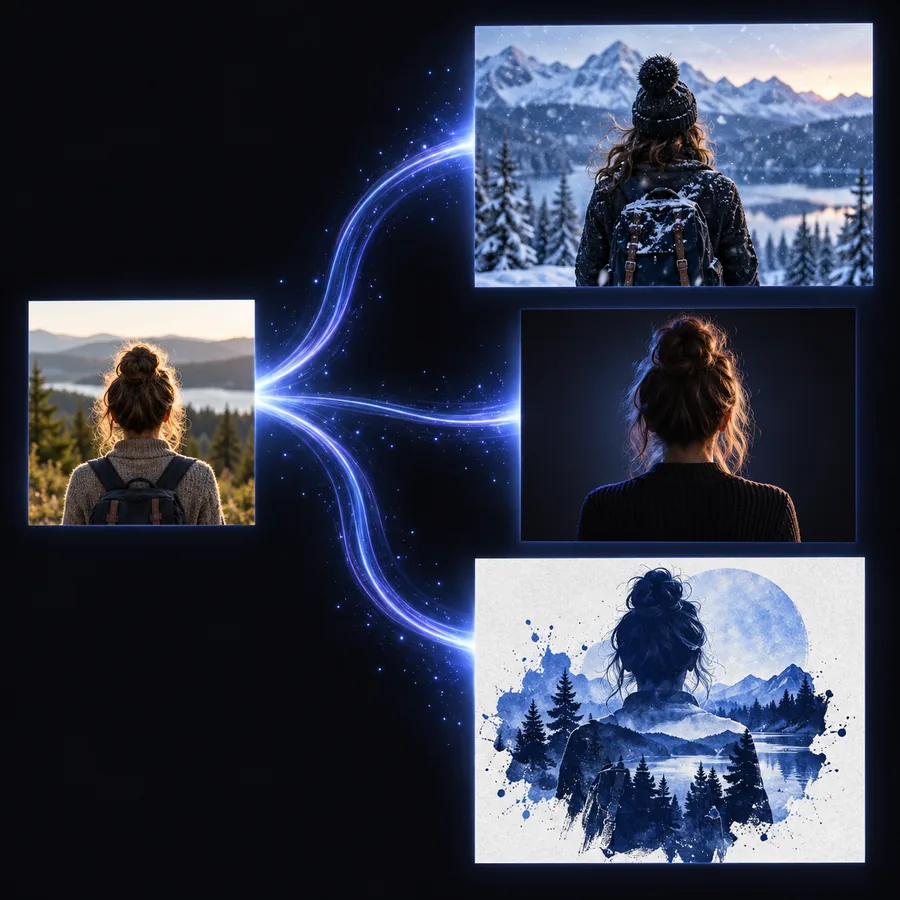
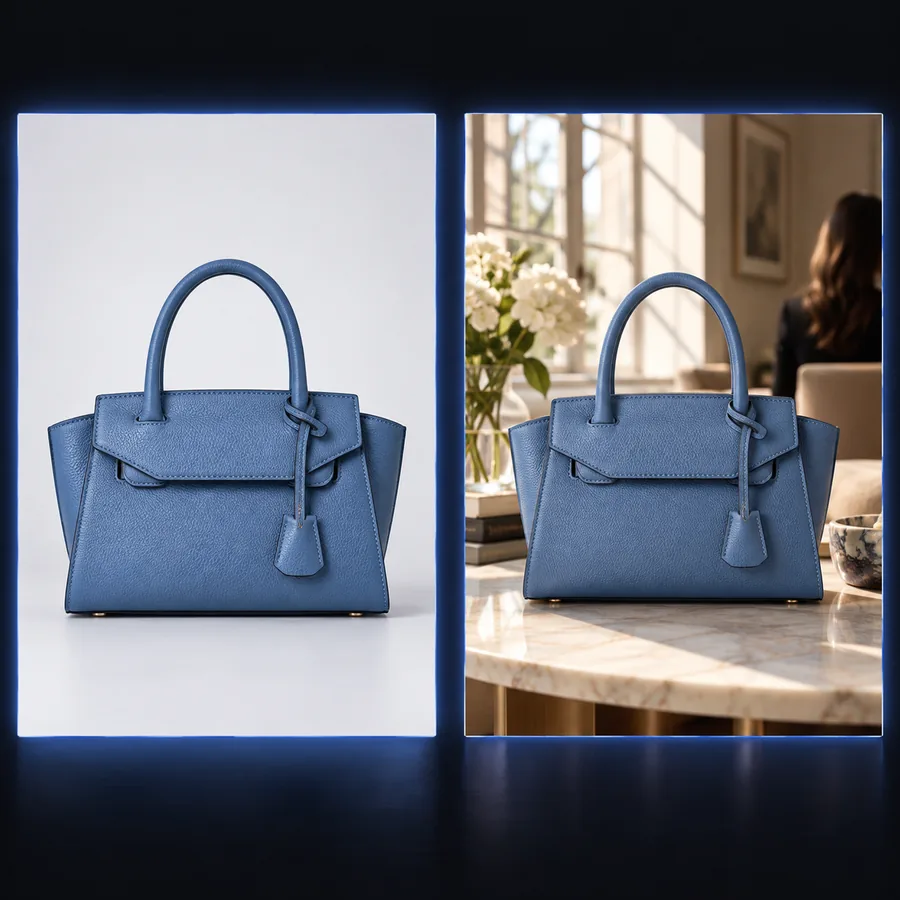
Write the edit as two short clauses: 'Change the background to a quiet garden; keep the person's pose, face, and clothing.' If the output alters the subject, strengthen the preservation clause rather than adding more style words. This makes the next attempt easier to evaluate because the intended difference is explicit.

PROMPT PATTERN

Change one thing; name the details that must remain.

Example image for checking composition and fine details

Inspect at more than one scale

First compare the whole composition: is the subject still in the right place? Then zoom in on features that models often reinterpret, especially fingers, text, jewelry, and fine edges. If an edit looks convincing only as a thumbnail, it may not be suitable as a final image.

QUALITY CHECK

Review the full scene and the smallest important detail.

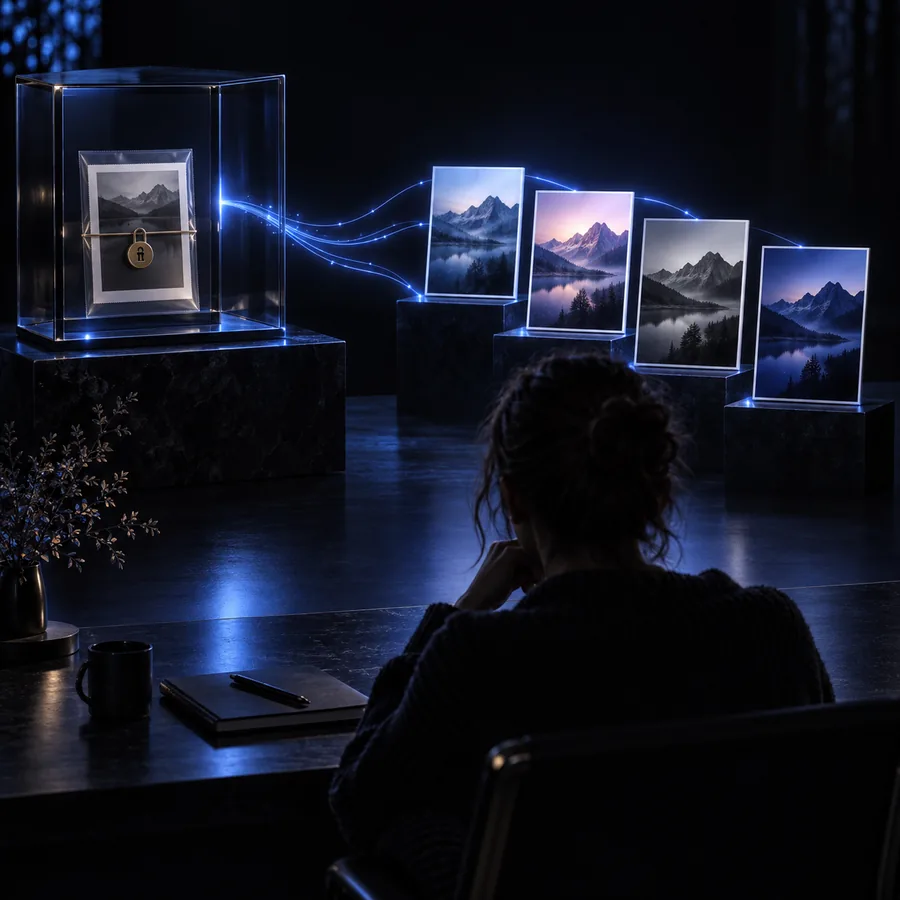
Example visual for comparing successive image edits

Keep a simple revision trail

Save the original, each useful output, and the prompt that produced it. On the next attempt, change only the instruction tied to the visible problem. If the lighting is right but the face drifts, preserve the lighting request and make the likeness instruction more specific instead of starting over.

ITERATION RULE

One prompt change per attempt makes progress easier to recognize.

Try a focused first edit

Give your image one clear direction

Choose a source you can share, ask for one visible change, and say what must stay intact. Compare the output with the original before making your next prompt more specific.

Transform my image
  • Keep an untouched original
  • Describe the change and what to preserve
  • Inspect details before using the result

tutorial FAQ

Upload an image you have permission to edit, then describe one change and the details to keep. Generate a result, compare it with the original, and revise the prompt if an important feature changed.

Name the subject, the desired edit, and the features that must remain recognizable. For example, ask to change a portrait's background while preserving the person's pose, face, and clothing.

The requested change may be too broad, or the prompt may not say which source details matter. Try a narrower edit and explicitly name the composition, subject features, or colors you want to preserve.

You can ask for scratch or color restoration while specifying that facial features must stay the same, but an AI result may still alter them. Compare the output closely with the original and do not treat newly visible details as historical evidence.

Remove or obscure addresses, documents, and other sensitive details before using an online tool. If the image cannot be safely cropped or redacted, choose a different source rather than relying on a prompt to protect it.

Start creating
Start creating