Ideas from images

Try ai image to image examples free with your own photo

A reference image gives an edit a starting point, but it does not guarantee a useful result. Choose the change you want, write a prompt that protects what matters, and compare the output with your original. These examples focus on practical edits rather than dramatic transformations.

Use an image you have permission to edit
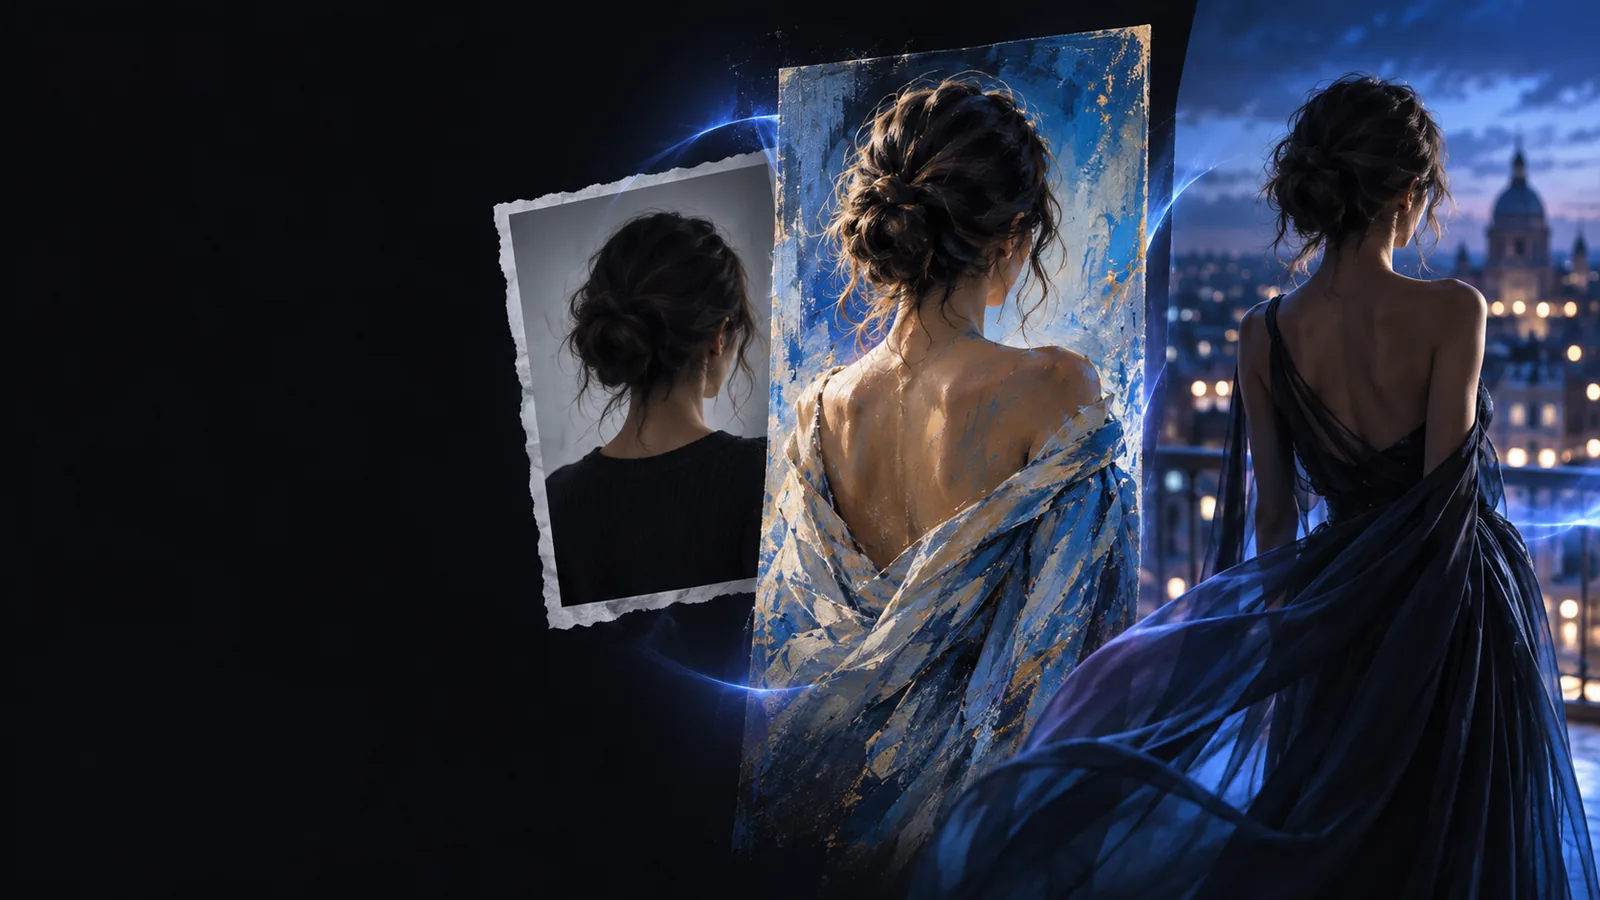
AI-assisted image transformation shown in the site's hero artwork

The hard part is knowing what to keep

A strong result changes one thing clearly while preserving the details that make the source useful. Pick a scenario before writing the prompt.

Social creator

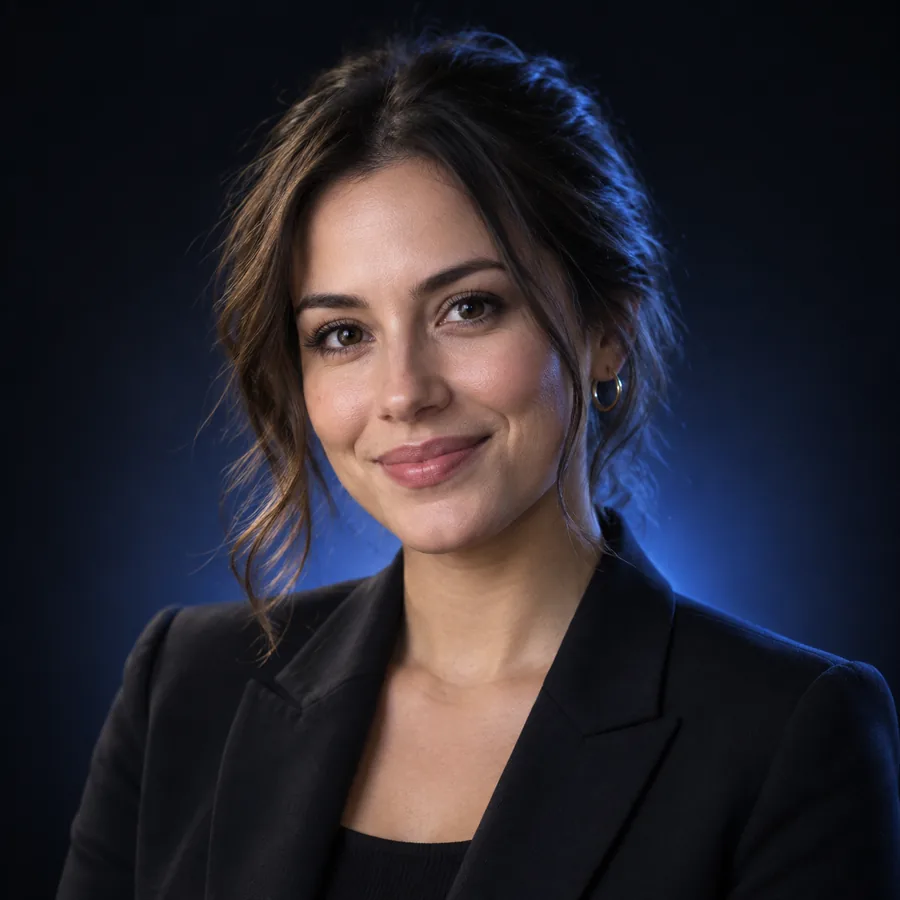
A portrait suits the post, but the background feels distracting. Ask for a new setting while keeping the person's pose, clothing, and facial features.

Compare the original and result at full size; reject versions that alter identity or introduce odd edges around hair. See ai image to image examples online for more ways to assess a browser-based result.

ai image to image examples online
Product photographer

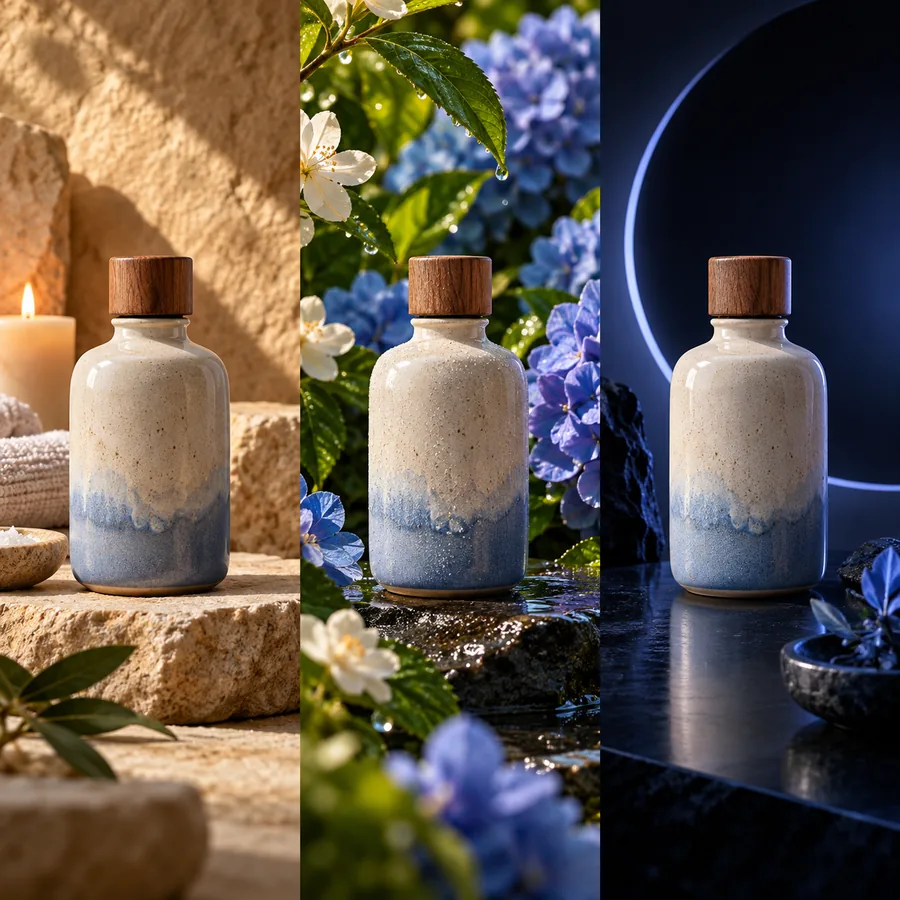
A clean object photo needs a different setting. Keep the object's shape, label, and visible details while changing the surface and lighting.

Use the result as a concept until you verify that it accurately represents the product. For detail-focused approaches, explore image to image ai realistic.

image to image ai realistic

Designer

A rough visual direction needs a fast variation before detailed manual work. Try a restrained style change instead of asking the model to redesign everything.

Keep the source and generated version separately so you can refine edges, typography, and color yourself. See ai image to image for photoshop for a handoff-oriented workflow.

ai image to image for photoshop

Three workflows to try with one reference image

Change one variable at a time. These free example workflows make it easier to tell whether a prompt improved the image or merely made it different.

    1. Beginner

      Move a portrait into a new setting

      Start with a portrait you are allowed to use. Request a garden background, natural light, and the same subject, expression, pose, and framing. If the face changes, shorten the prompt and emphasize preservation rather than adding more scene details.

      1. Upload the portrait and keep an untouched copy.
      2. Prompt: Keep the person, expression, clothing, pose, and framing; replace only the background with a softly lit garden.
      3. Check the face, hands, hairline, and boundary between subject and background.
      Try a portrait edit
    2. Intermediate

      Stage a product without changing the product

      Use a clear source photo with the whole object visible. Describe the surface, surroundings, and lighting you want, then explicitly preserve its silhouette and markings. A pleasing scene is not a usable product image if the object itself becomes inaccurate.

      1. Choose a source with readable product details.
      2. Prompt: Place this object on a neutral tabletop in soft window light; keep its shape, color, label, and proportions unchanged.
      3. Compare labels and small features against the original before using the output.
      Try a product edit
    3. Beginner

      Explore a restrained style variation

      Turn a reference scene into a visual concept without asking for new objects. Specify the desired palette and texture, then keep the composition and main shapes. This works best as an iteration aid; inspect fine details before treating the result as finished artwork.

      1. Pick a scene with a clear focal point.
      2. Prompt: Restyle this scene with warm watercolor texture; preserve the composition, main objects, and their positions.
      3. Compare the silhouette and focal point with the source, then revise only the style instruction.
      Try a style edit

    Example outputs and the inputs to compare

    Use each sample as a comparison exercise: identify the intended edit, then look for changes the prompt did not request. An attractive output can still miss the brief.

    • First image-to-image example output Portrait
      1
      Portrait exercise. Input: a subject photo. Prompt to try: Keep the subject and framing; change only the background to a softly lit garden. Compare facial features and hair edges with the input.
    • Second image-to-image example output Product
      2
      Product exercise. Input: a clear object photo. Prompt to try: Place the object on a neutral tabletop in window light; preserve its shape, color, and markings. Check every visible detail.
    • Third image-to-image example output Restyle
      3
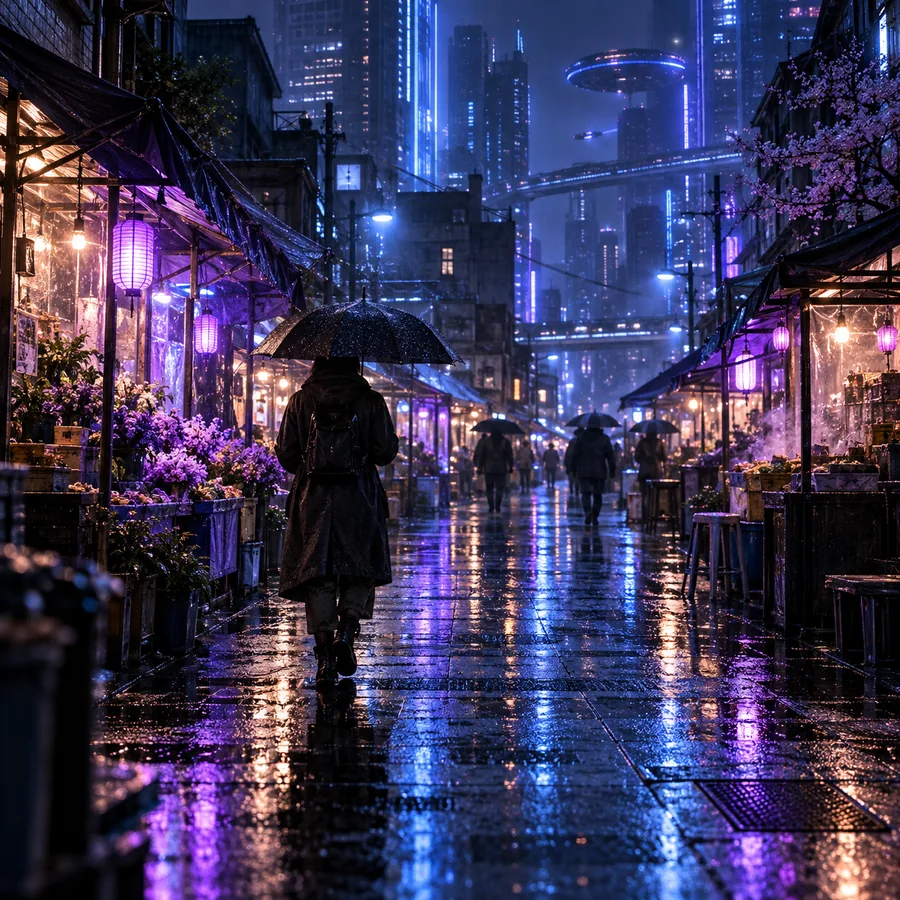
      Style exercise. Input: a scene with a clear focal point. Prompt to try: Add warm watercolor texture while keeping the composition and object positions. Look for unwanted additions.

    Check permission and accuracy before sharing

    Make the example yours, then inspect the result

    Use images you own or have permission to edit, especially when a person, logo, or branded product appears. Avoid uploading private documents or sensitive photos. For any public use, compare the output with its source: AI can change faces, labels, proportions, or other meaningful details even when the prompt asks it not to.

    Try an image edit
    • Keep the original for comparison
    • Check consent for recognizable people
    • Verify product details before publishing

    Questions about free image-to-image examples

    Try changing the background of a photo you own while asking the tool to keep the subject and framing. The request has a clear goal, and comparing it with the source makes unintended changes easier to spot. Start with a simple image rather than one full of tiny details.

    Not necessarily. Name the change you want and the two or three things that must stay the same. Add detail only when an output misses the brief; a long prompt with competing instructions can make comparison harder.

    The source image, prompt wording, and generation settings all affect the result. Even repeated attempts with similar inputs can vary. Treat an example as a workflow to test, not a promise that your image will match it.

    Only after checking it against the real item. An image edit may quietly alter a label, material, color, or shape. If those details matter to viewers, use an accurate photograph or correct the output before publishing.

    Sharing depends on the image and the people or material in it, not just the tool used to make it. Get permission for recognizable people and content you do not own, and avoid exposing private information. Review the finished image for misleading changes before posting.

    Start creating
    Start creating