Free image editing
Make a new version with ai image to image free
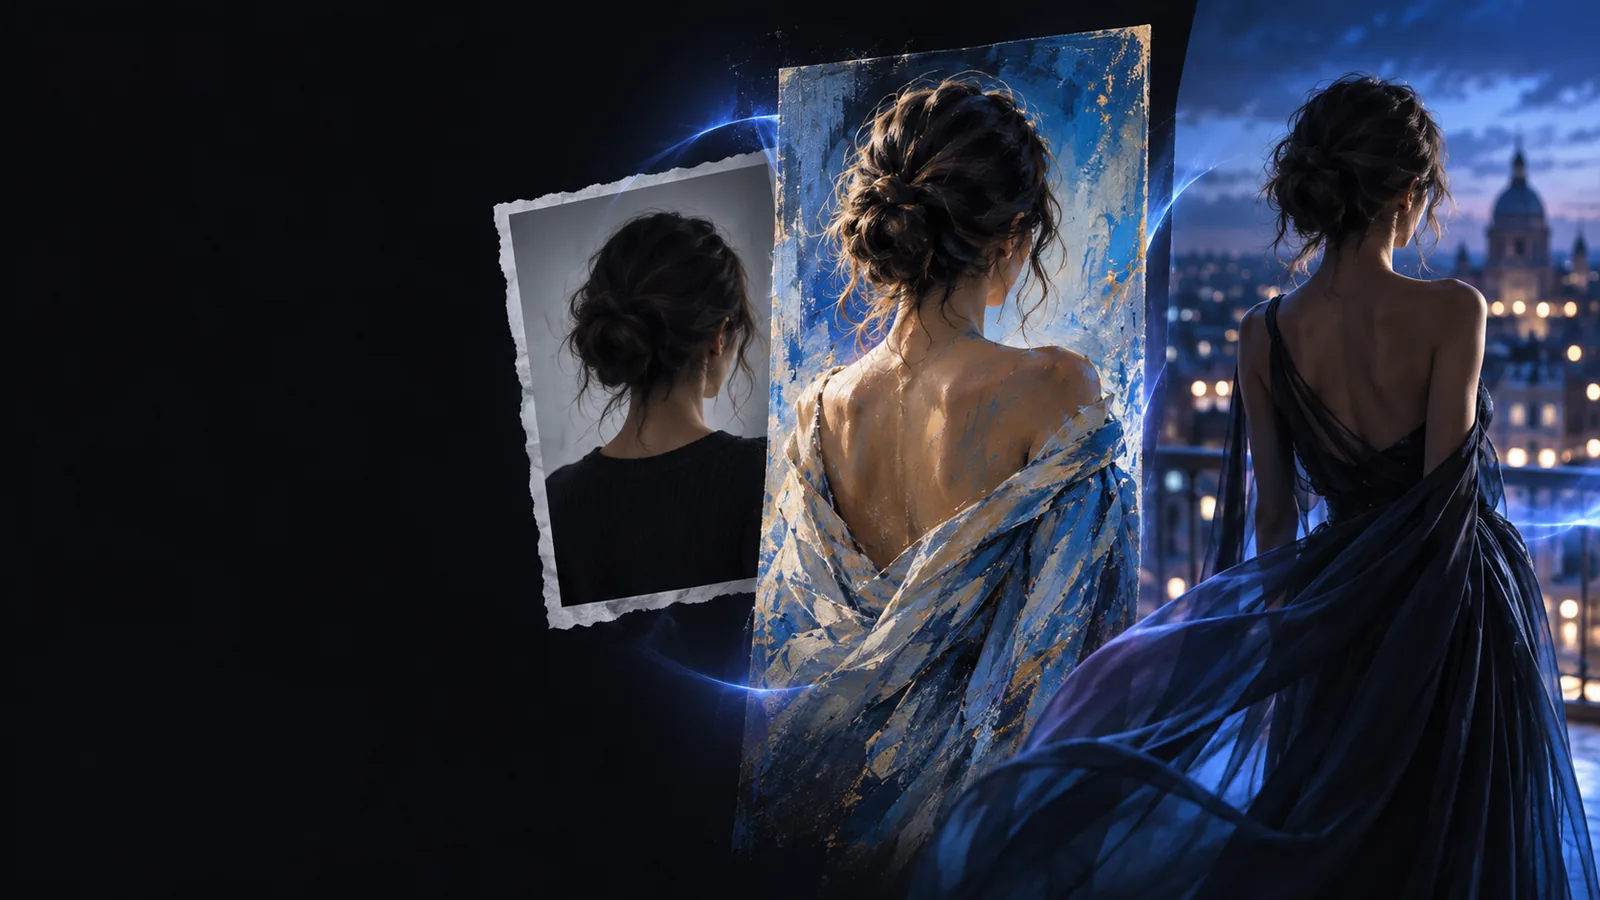
Use a photo or illustration as the starting point, then describe what should change and what should stay. A clear first prompt makes it easier to judge the result and refine it.
Prerequisites
Choose your starting route before you write a prompt. These related guides address access questions and browser-based editing in more detail.
Prepare your source image
You do not need a polished original. You do need a source that shows the subject and composition you want the new image to retain.
You must have
Without every one of these the route does not run.
-
An image you have permission to use and upload
Avoid sharing someone else's private photo without consent.
-
A visible subject and enough detail to guide the edit
A heavily blurred source gives the model less reliable information.
-
A short description of the change you want
Name the new style, setting, lighting, or object rather than asking for a vague improvement.
Nice to have
Skip any of these and the route still works — they only make it faster.
-
A note about what must remain unchanged
Mention framing, pose, colors, or background elements that matter to you.
-
A copy of the original for comparison
Keep it nearby so you can spot unwanted changes after the first result.
One full run-through
For an ai image to image free first pass, start with a broad change. Use a more constrained prompt only if the result alters details you meant to keep.
- First pass
- Refined pass
Source
First pass
Upload a clear garden photo.
Refined pass
Reuse the same original photo.
Requested change
First pass
Ask for a warm sunset scene.
Refined pass
Specify golden-hour light and longer shadows.
Details to preserve
First pass
Keep the path and trees.
Refined pass
Keep the path's shape, tree positions, and camera angle.
First review
First pass
Check whether the scene reads as sunset.
Refined pass
Check whether the important geometry survived.
If it misses
First pass
Identify the most noticeable unwanted change.
Refined pass
Address that change in one sentence.
Finish
First pass
Keep the result if it meets your goal.
Refined pass
Compare both versions and keep the stronger one.
Options table
Choose a small change before a sweeping one
The run-through compares two useful approaches: a broad first pass to explore an idea and a refined pass to protect specific details. Neither is automatically better. If the source composition matters, state those constraints early rather than hoping the tool will infer them.
Free access describes a way to start, not a promise that every result will be usable or that every service permits endless attempts. Review the available controls and any stated limits where you generate; then judge the output against your original image.
- SOURCE IMAGE
- REVIEW THE RESULT
- REFINE IF NEEDED
What fails
A weak result is often a prompt or source-image problem, not a reason to start over with an entirely different idea.
-
1
Find the mismatch
Compare the result with the source. If the face, layout, or object shape changed unexpectedly, name that specific mismatch instead of asking the tool to make everything better.
-
2
Narrow the instruction
Ask for one change and explicitly preserve the details that matter. Competing requests, such as a completely new composition and an identical layout, can pull the output in different directions.
-
3
Check the source
If the subject is tiny, obscured, or blurred, try a clearer image or a tighter crop. Text, logos, and fine details also deserve a close inspection before you use the result.
Try a first pass
Let the first result guide the next prompt
Start with a source you can use, describe one visible change, and compare the output with your original. Keep what works; make the next instruction more specific only where it falls short.
Transform my image- Start from your own image
- Describe what should stay
- Review before sharing
FAQ
Bring an image you are allowed to upload and a short description of the change you want. A clear source makes it easier to retain recognizable details. Check the tool's stated access conditions before relying on it for a larger project.
Yes. Image-to-image editing uses your existing photo as a visual starting point, while your prompt guides the new version. State which parts should remain recognizable if preserving them is important.
A broad prompt may leave the model room to reinterpret the subject or composition. Compare the result with your original, then specify the detail to preserve or try a clearer source. A second attempt is often more useful than adding many unrelated instructions at once.
Not necessarily. Access rules and usage limits depend on the tool you use and may change, so check its current terms rather than assuming unlimited generations. Save the versions you like as you work.
Try a change that is easy to evaluate, such as new lighting or a different background mood while keeping the subject and framing. After the first result, decide whether to keep it or refine one specific detail.