Image tutorial

A practical guide: how to create an AI image with an existing image?

If you are asking how to create an AI image with an existing image?, start with a clear source photo, then describe what should change and what must stay. Ai Image To Image helps you approach this as a guided image-to-image transformation rather than a request for an unrelated picture.

Add your source image in the tool
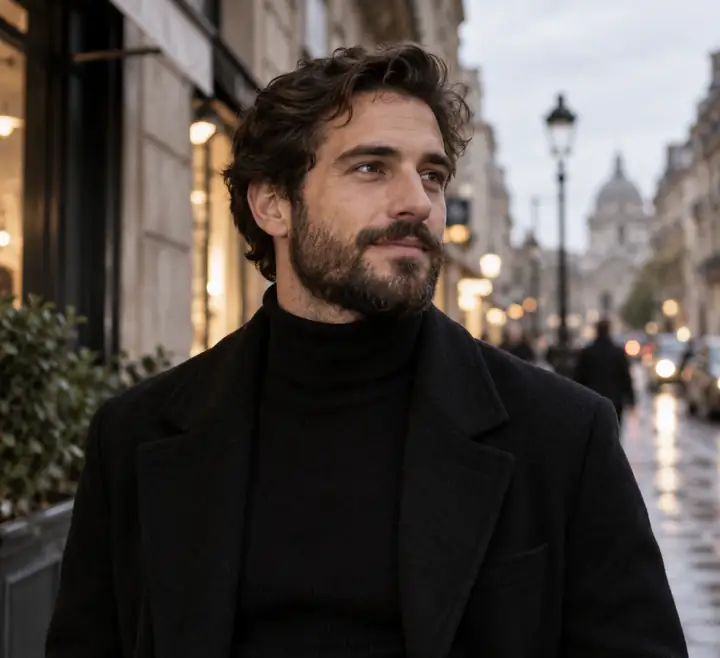
Example of an image transformed from a source photograph

Elimination order table

Work through these checks in order. Fixing the source first prevents a more elaborate prompt from compensating for an unsuitable photo.

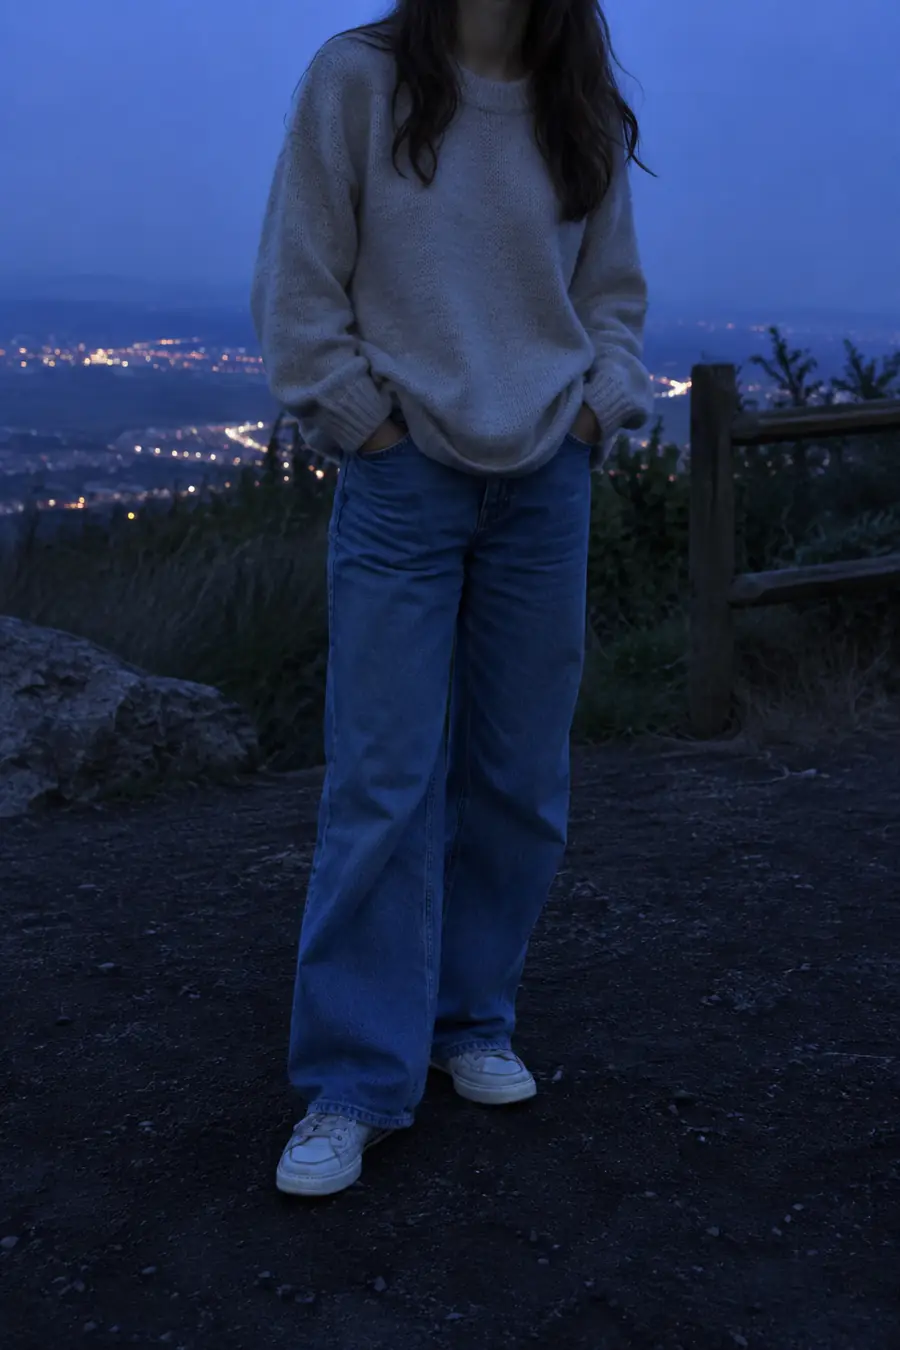
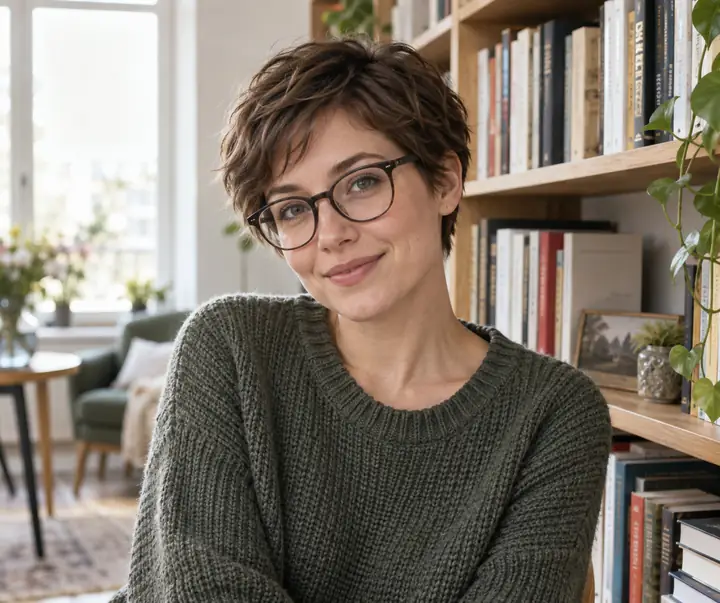
Source portrait ready for a style transformation

Check whether the source shows what matters

If the subject is tiny, cropped, blurry, or hidden, the generated image may replace its details with guesses. Choose an existing image where the important face, object, or outline is visible. For a portrait, avoid a reference where hair covers most of the face. For a product, use a view that shows the shape you want retained. This is the first check in an ai image to image workflow because no prompt can recover detail that the source does not show.

Check first

Can you point to the exact feature the new image must keep?
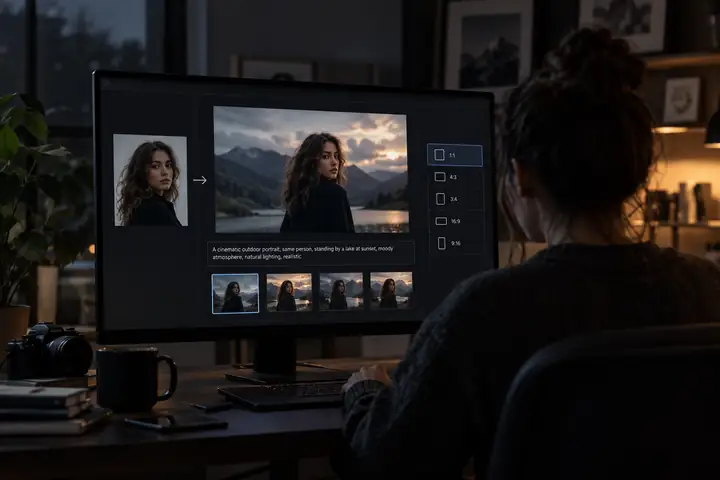
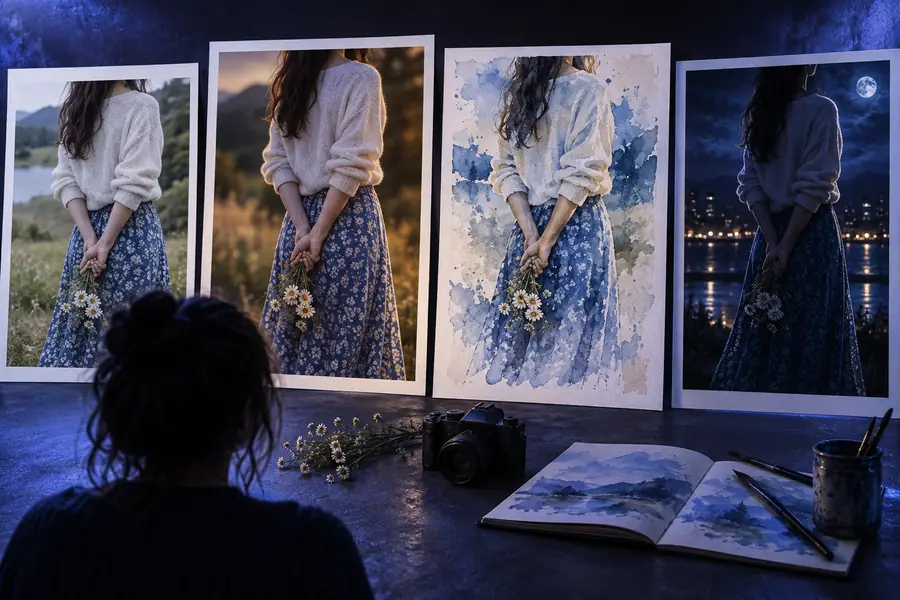
Workspace illustrating a written image transformation prompt

Separate changes from constraints

A prompt such as “make it cinematic” leaves the tool to decide which parts of the existing image may change. Instead, identify the edit and the boundary: “replace the gray wall with a garden; keep the person, blue jacket, and camera angle.” If a first result changes too much, remove competing style words before adding more instructions. Ai image to image works best when the desired change is distinguishable from the details you want preserved.

Prompt pattern

Change the background; preserve the subject and viewpoint.

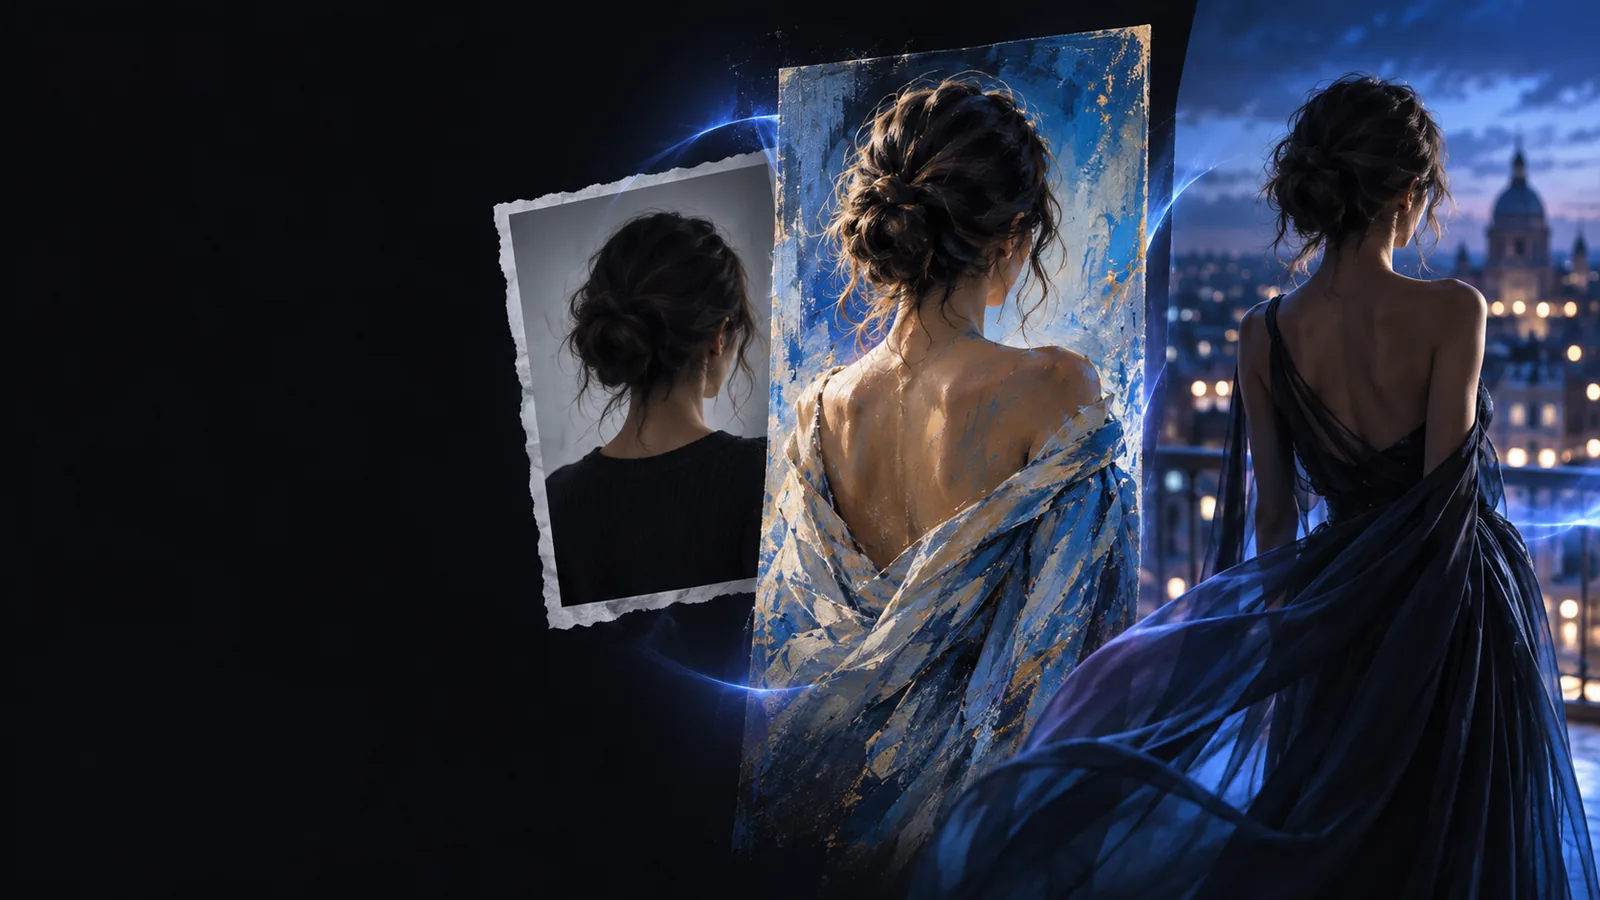
Generated image showing a revised photographic result

Compare the result against the source

Do not judge only whether the generated picture looks polished. Check the specific features you named: identity, pose, object proportions, lighting direction, and background. If one feature drifts, revise that constraint and generate again. If nearly everything drifts, return to the source and prompt checks above. This order makes each ai image to image attempt a test of one change rather than a complete restart.

Decision rule

Revise one instruction at a time so you know what helped.

Each fix's steps

Use this short sequence once the source is suitable and the edit is specific.

  1. 1

    Add the existing image

    Open the image transformation tool and supply a photo you own or have permission to use. Pick a clear reference with room around the subject if the background needs to change. Confirm that the correct image appears before entering your instructions.

  2. 2

    Write a bounded prompt

    State the intended output in one sentence, then name what must remain. For example: “Make this daytime street photo look like a rainy evening; retain the storefront layout and the person's position.” In ai image to image, these preservation details are as important as the new style.

  3. 3

    Generate and inspect

    Generate a result, compare it with the existing image, and look for changes outside your request. Check recognizability before fine details. If the scene is right but a face or product has shifted, make that preservation instruction more explicit on the next attempt.

  4. 4

    Revise the smallest failing part

    Keep a successful prompt's useful wording. Change only the instruction responsible for the mismatch, such as lighting, background, or subject detail, and compare again. This produces a clearer ai image to image iteration than replacing the whole prompt after every result.

How to avoid recurrence

Prepare these before each new transformation so preventable source and prompt problems do not return.

You must have

Without every one of these the route does not run.

  • A source image you own or are permitted to transform

    Avoid uploading someone else's private photograph without consent.

  • A clearly visible subject or feature to preserve

    Choose a sharper existing image when the current one hides important detail.

  • A prompt that names the edit and at least one unchanged feature

    Keep the request narrow enough to check against the result.

Nice to have

Skip any of these and the route still works — they only make it faster.

  • A copy of the original for side-by-side comparison

    It helps you spot unintended changes after generation.

  • A short note recording what you changed between attempts

    Useful when several ai image to image results look similar.

More guidance for your next attempt

Choose a related guide if you need help with the general workflow or with a different kind of image-based request.

Check a change without losing the subject

Drag across the paired images to see which details remain recognizable and which have been transformed.

Original photograph before an image-to-image change Generated version of the same photographic subject Existing image Generated image

A comparison is useful only when you judge the specific features your prompt asked the ai image to image tool to preserve.

Existing imageGenerated image

What this workflow cannot guarantee

An existing image is a reference, not a promise that every pixel or identifying detail will survive.

Exact identity preservation

A generated portrait may alter facial features even when your prompt asks to keep them.

Workaround

Use a clearer reference, request a smaller change, and inspect the face before using the result.

Recovery of missing detail

If a label is illegible or part of an object is outside the original frame, the result may invent it.

Workaround

Start with an existing image that visibly contains the required detail.

Precise text and geometry

Letters, logos, hands, and product edges may shift in an ai image to image result.

Workaround

Check those areas closely and use a dedicated editor for corrections that must be exact.

Try a focused transformation

Start with one photo and one clear change

Bring your existing image, describe the edit, and say what the generated version must keep. Compare the result with the source, then refine only what missed the mark.

Transform my image
  • Start with a clear source
  • Name what stays
  • Review before revising

Tutorial FAQ

Supply the existing image to an image-to-image tool, describe the change you want, and specify what should stay recognizable. Generate a result, compare it with the source, and adjust a single instruction if the output drifts.

Describe the new scene or style and explicitly protect the important details. For example, ask for a garden background while keeping the person's face, pose, and clothing. A specific ai image to image prompt is easier to assess than a broad request to make the photo better.

The source may hide the details you care about, or the prompt may give the tool too much freedom. Try a clearer existing image and request a smaller edit. Then compare the next result against the particular features you asked to preserve.

You can request that outcome, but generation may still alter edges, clothing, or facial details. State that the subject and camera angle should remain unchanged, then inspect the output carefully. If exact preservation is essential, finish the job in an editor that supports precise selections.

Start creating
Start creating