Photographers
Test a warmer setting for a portrait while preserving the pose and framing.
Compare lighting and background ideas before committing to detailed retouching.
image to image ai realisticBrowser-based editing
Ai image to image online starts with a picture you already have. Describe the change you want, then compare the result with your original before deciding what to keep.
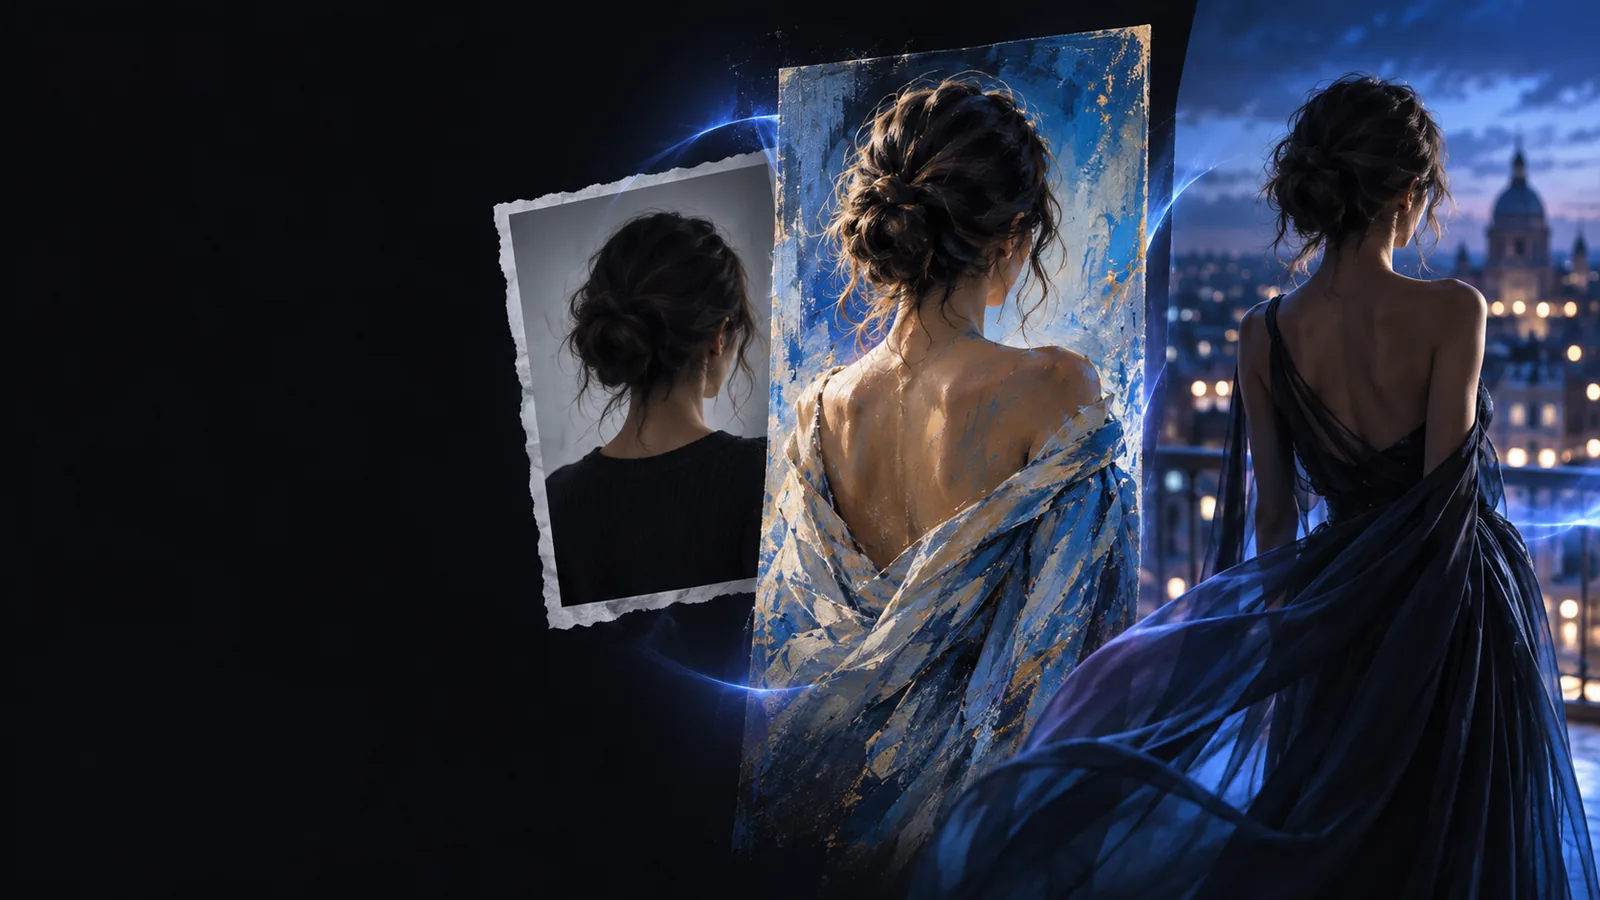
An online image to image workflow is useful when you want a new interpretation of a picture, rather than precise control over every pixel. These approaches solve different editing problems.
Starting point
Browser image transformation
Upload an existing image
Manual desktop editing
Open an image or a blank canvas
Main instruction
Browser image transformation
Describe the desired visual change
Manual desktop editing
Select tools and make individual edits
Best suited to
Browser image transformation
Exploring styles and broad scene changes
Manual desktop editing
Retouching specific areas with precision
Control over details
Browser image transformation
Details can vary between results
Manual desktop editing
Edits can target exact pixels or layers
Working surface
Browser image transformation
A browser on a supported device
Manual desktop editing
Installed editing software
Review step
Browser image transformation
Compare the generated result with the source
Manual desktop editing
Inspect edits as they are applied
Typical follow-up
Browser image transformation
Revise the instruction or make a manual touch-up
Manual desktop editing
Adjust the edit or export the file
Start with a clear source image and ask for one substantial change at a time. The right instruction depends on which parts of the original must survive.
Test a warmer setting for a portrait while preserving the pose and framing.
Compare lighting and background ideas before committing to detailed retouching.
image to image ai realisticTurn a rough visual reference into several style directions without losing its main composition.
Use the variations to choose an approach for a finished illustration.
ai image to image generatorPlace an existing product photo into a different setting while keeping the product recognizable.
Explore campaign concepts, then check branding, labels, and product details manually.
ai image generator from imageTry a new look for a personal picture without learning a full editing interface first.
Make a quick visual draft and decide whether it needs closer editing.
image to image ai editorA useful image to image prompt names both the change and the parts to preserve. Compare the full scene, not just its most striking detail.
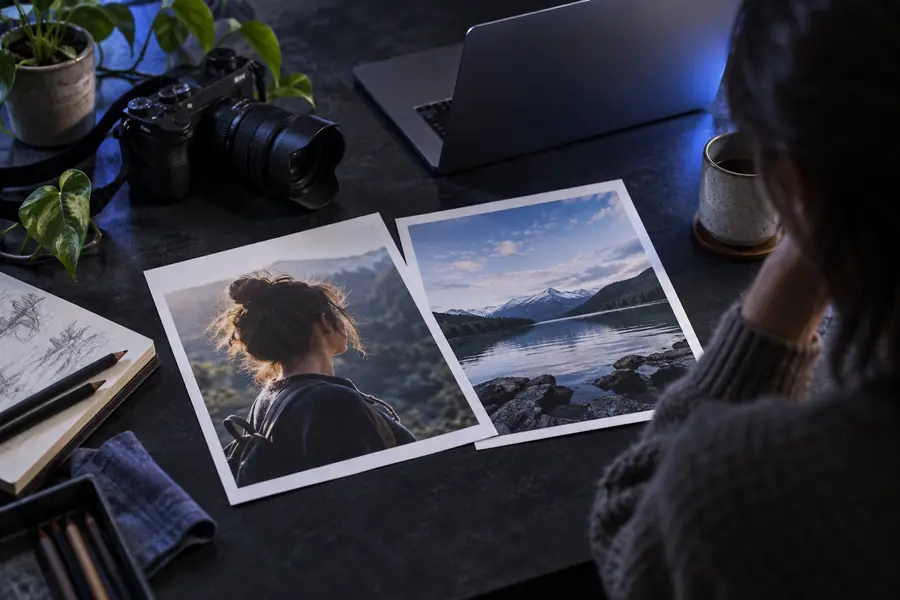 Source image
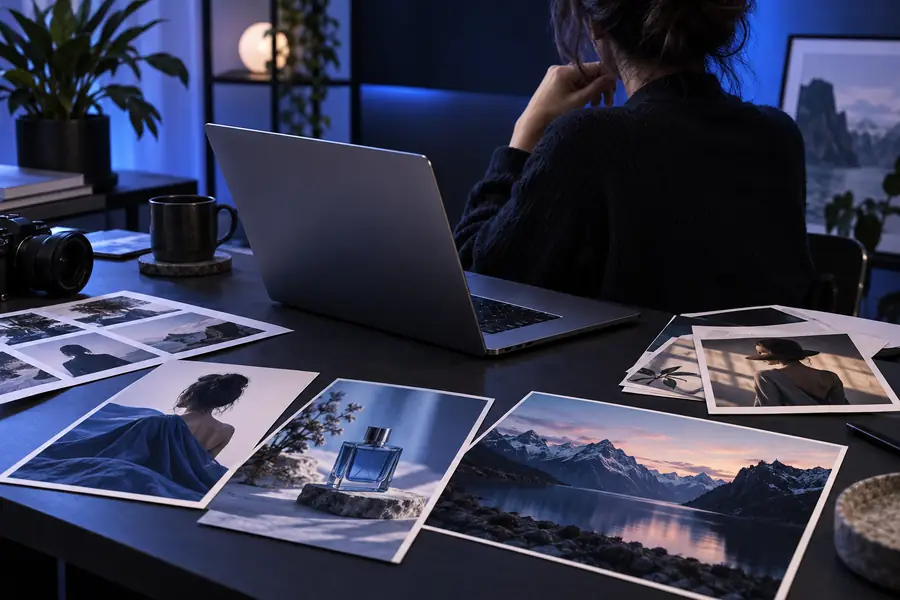 Restyled result
The browser removes the need for a desktop editing setup, but the source and instructions still shape the result. Image to image generation may reinterpret details you intended to keep.
Without every one of these the route does not run.
An image you own or have permission to edit
Avoid uploading someone else’s private photo without their consent.
A clear description of the change you want
Name the new style, setting, or lighting rather than asking for a vague improvement.
A close review of faces, hands, text, and product markings
Do not assume the output preserves fine details accurately.
Skip any of these and the route still works — they only make it faster.
A list of details that must remain unchanged
Mention the subject, pose, composition, or recognizable features.
A copy of the original file
Keep it for comparison or later manual editing.
An online image to image edit works best when the request fits the source. These starting points help you write a focused first instruction, then revise it after reviewing the result.
Describe the new lighting or background, then explicitly ask to retain the person’s facial features, expression, and pose. Check the face closely; a convincing style change is not proof that likeness was preserved.
Ask for a different environment while keeping the product’s shape and color. Generated images can alter logos, labels, and packaging, so compare those areas against the original before using a result.
For a sketch or illustration, state the intended medium and mood while identifying the shapes that matter. If the first result drifts too far, narrow the change instead of adding several unrelated style requests.
Choose a source picture, describe one change, and say what should stay. Review the result against the original and refine your instruction if important details have shifted.
Transform my imageYou provide an existing image and describe the result you want. The tool uses the picture as a visual starting point, but it may reinterpret details rather than preserve every pixel.
A browser-based workflow does not require a separate desktop editor to make the initial transformation. You may still want an editor afterward for precise corrections, cropping, or text.
State the change first, then name what must remain: for example, the subject, pose, camera angle, and object positions. Compare the output with the source and make your next instruction more specific if it drifts.
Do not count on exact preservation of lettering, labels, or logos. Check these against the source image and correct any important details manually before sharing the result.
Use photos you have the right to edit, and consider whether they contain sensitive information before uploading them to any online service. Review the service’s privacy information when the image includes other people or private details.